Diffusers documentation
IP-Adapter
IP-Adapter
IP-Adapter 在保留文本提示的同时,利用参考图像来引导预训练的扩散模型。它冻结基础模型,并添加一组小型的图像交叉注意力层,因此无需微调即可实现与照片中特定主体或风格的匹配,具有实际可操作性。
text prompt                         reference image
    |                                     |
 text encoder                        image encoder
    |                                     |
    v                                     v
 text cross-attn  (frozen)          IP-Adapter cross-attn
    \                                     /
     \                                   /
      +-------->  denoiser  <-----------+
                  (frozen base)
IP-Adapter 检查点通常约为 100MB,因为它们存储的是适配器权重,而非完整模型。请先加载基础流水线,然后使用 load_ip_adapter() 加载适配器。
IP-Adapter 可用于许多模型,例如 Flux 和 Stable Diffusion 3 等。本指南中的示例使用 Stable Diffusion 和 Stable Diffusion XL。
使用 set_ip_adapter_scale() 来控制 IP-Adapter 对生成过程的引导强度。1.0 表示以全强度应用适配器;0.5 通常能在文本提示词和图像提示词之间取得平衡。
以下示例展示了 IP-Adapter 在常见任务中的应用。
import torch
from diffusers import AutoPipelineForText2Image
from diffusers.utils import load_image

pipeline = AutoPipelineForText2Image.from_pretrained(
  "stabilityai/stable-diffusion-xl-base-1.0",
  dtype=torch.float16
).to("cuda")  # or "mps", "xpu", "cpu"
pipeline.load_ip_adapter(
  "h94/IP-Adapter",
  subfolder="sdxl_models",
  weight_name="ip-adapter_sdxl.bin"
)
pipeline.set_ip_adapter_scale(0.8)
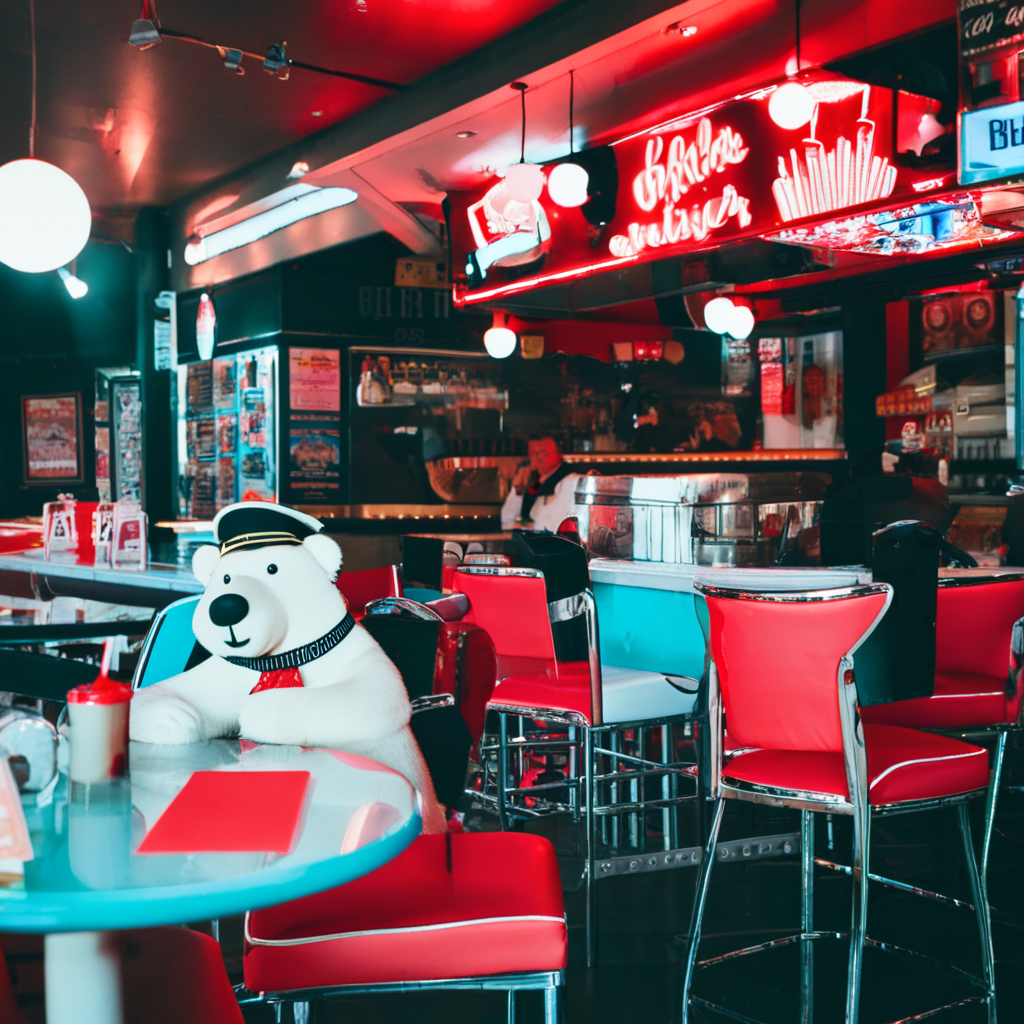
将图像传入 ip_adapter_image,并配合文本提示词,即可生成图像。
image = load_image("https://huggingface.co/datasets/huggingface/documentation-images/resolve/main/diffusers/ip_adapter_diner.png")
pipeline(
    prompt="a polar bear sitting in a chair drinking a milkshake",
    ip_adapter_image=image,
    negative_prompt="deformed, ugly, wrong proportion, low res, bad anatomy, worst quality, low quality",
).images[0]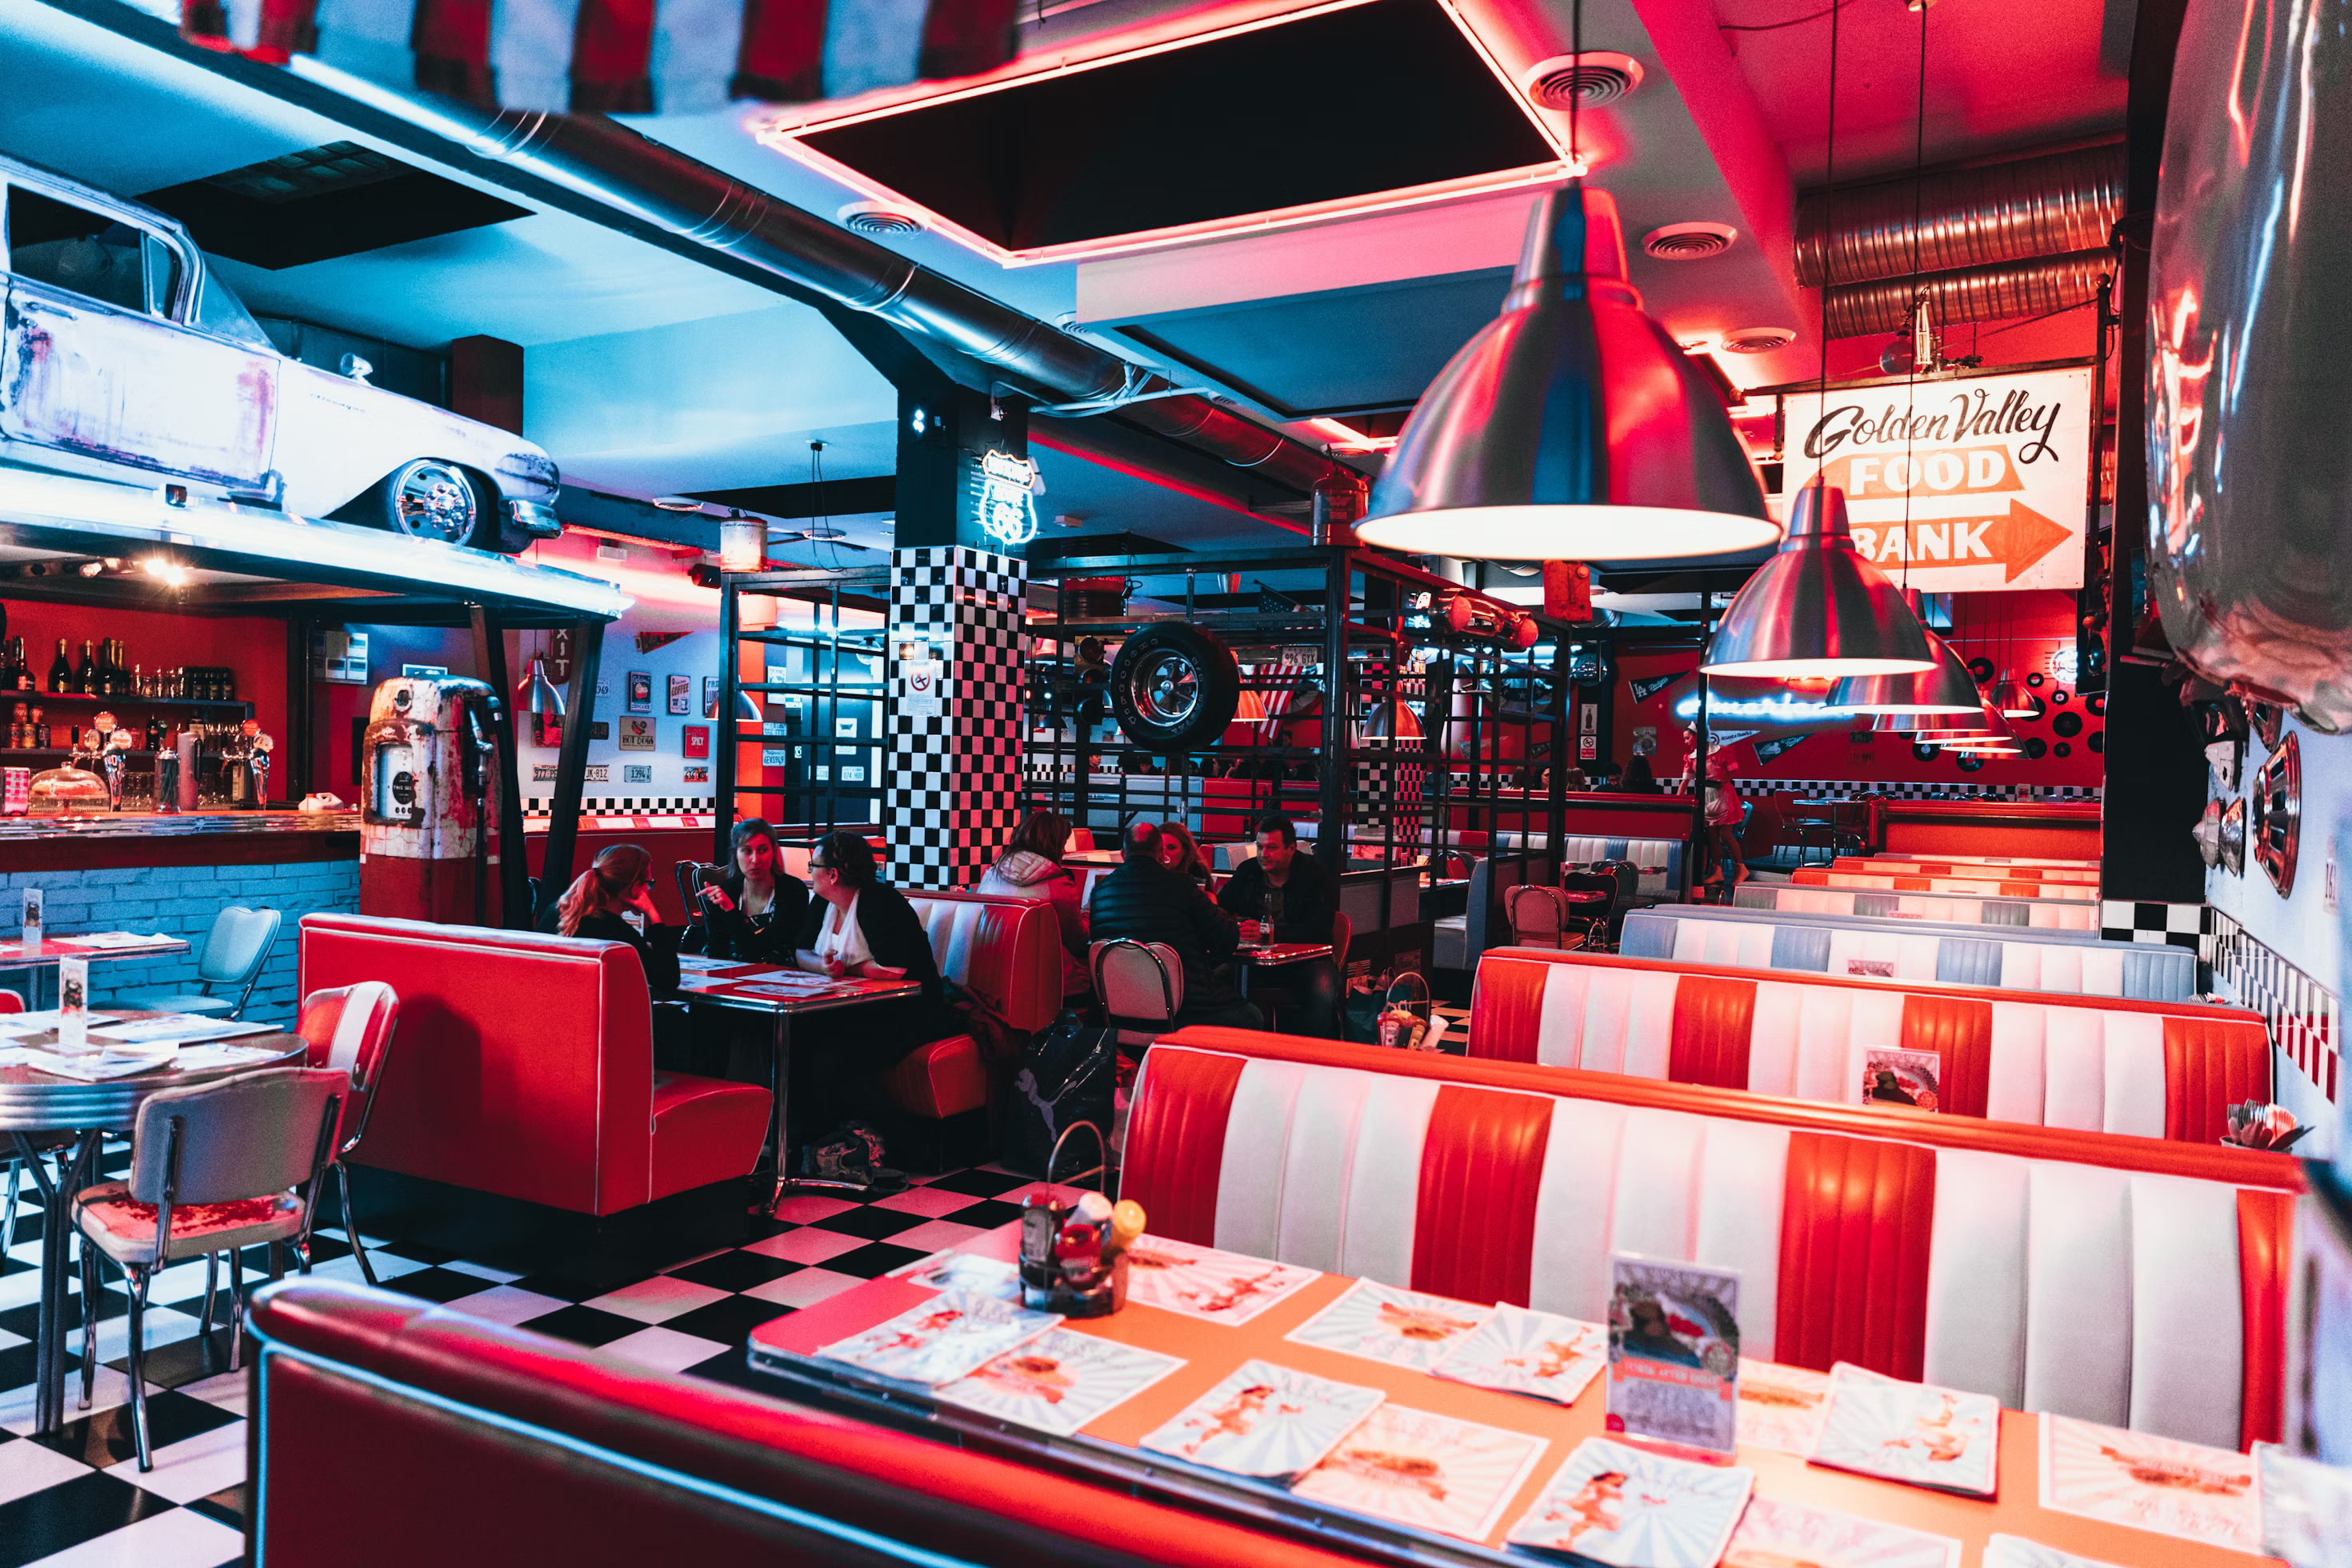
import torch
from diffusers import AutoPipelineForImage2Image
from diffusers.utils import load_image

pipeline = AutoPipelineForImage2Image.from_pretrained(
  "stabilityai/stable-diffusion-xl-base-1.0",
  dtype=torch.float16
).to("cuda")  # or "mps", "xpu", "cpu"
pipeline.load_ip_adapter(
  "h94/IP-Adapter",
  subfolder="sdxl_models",
  weight_name="ip-adapter_sdxl.bin"
)
pipeline.set_ip_adapter_scale(0.8)

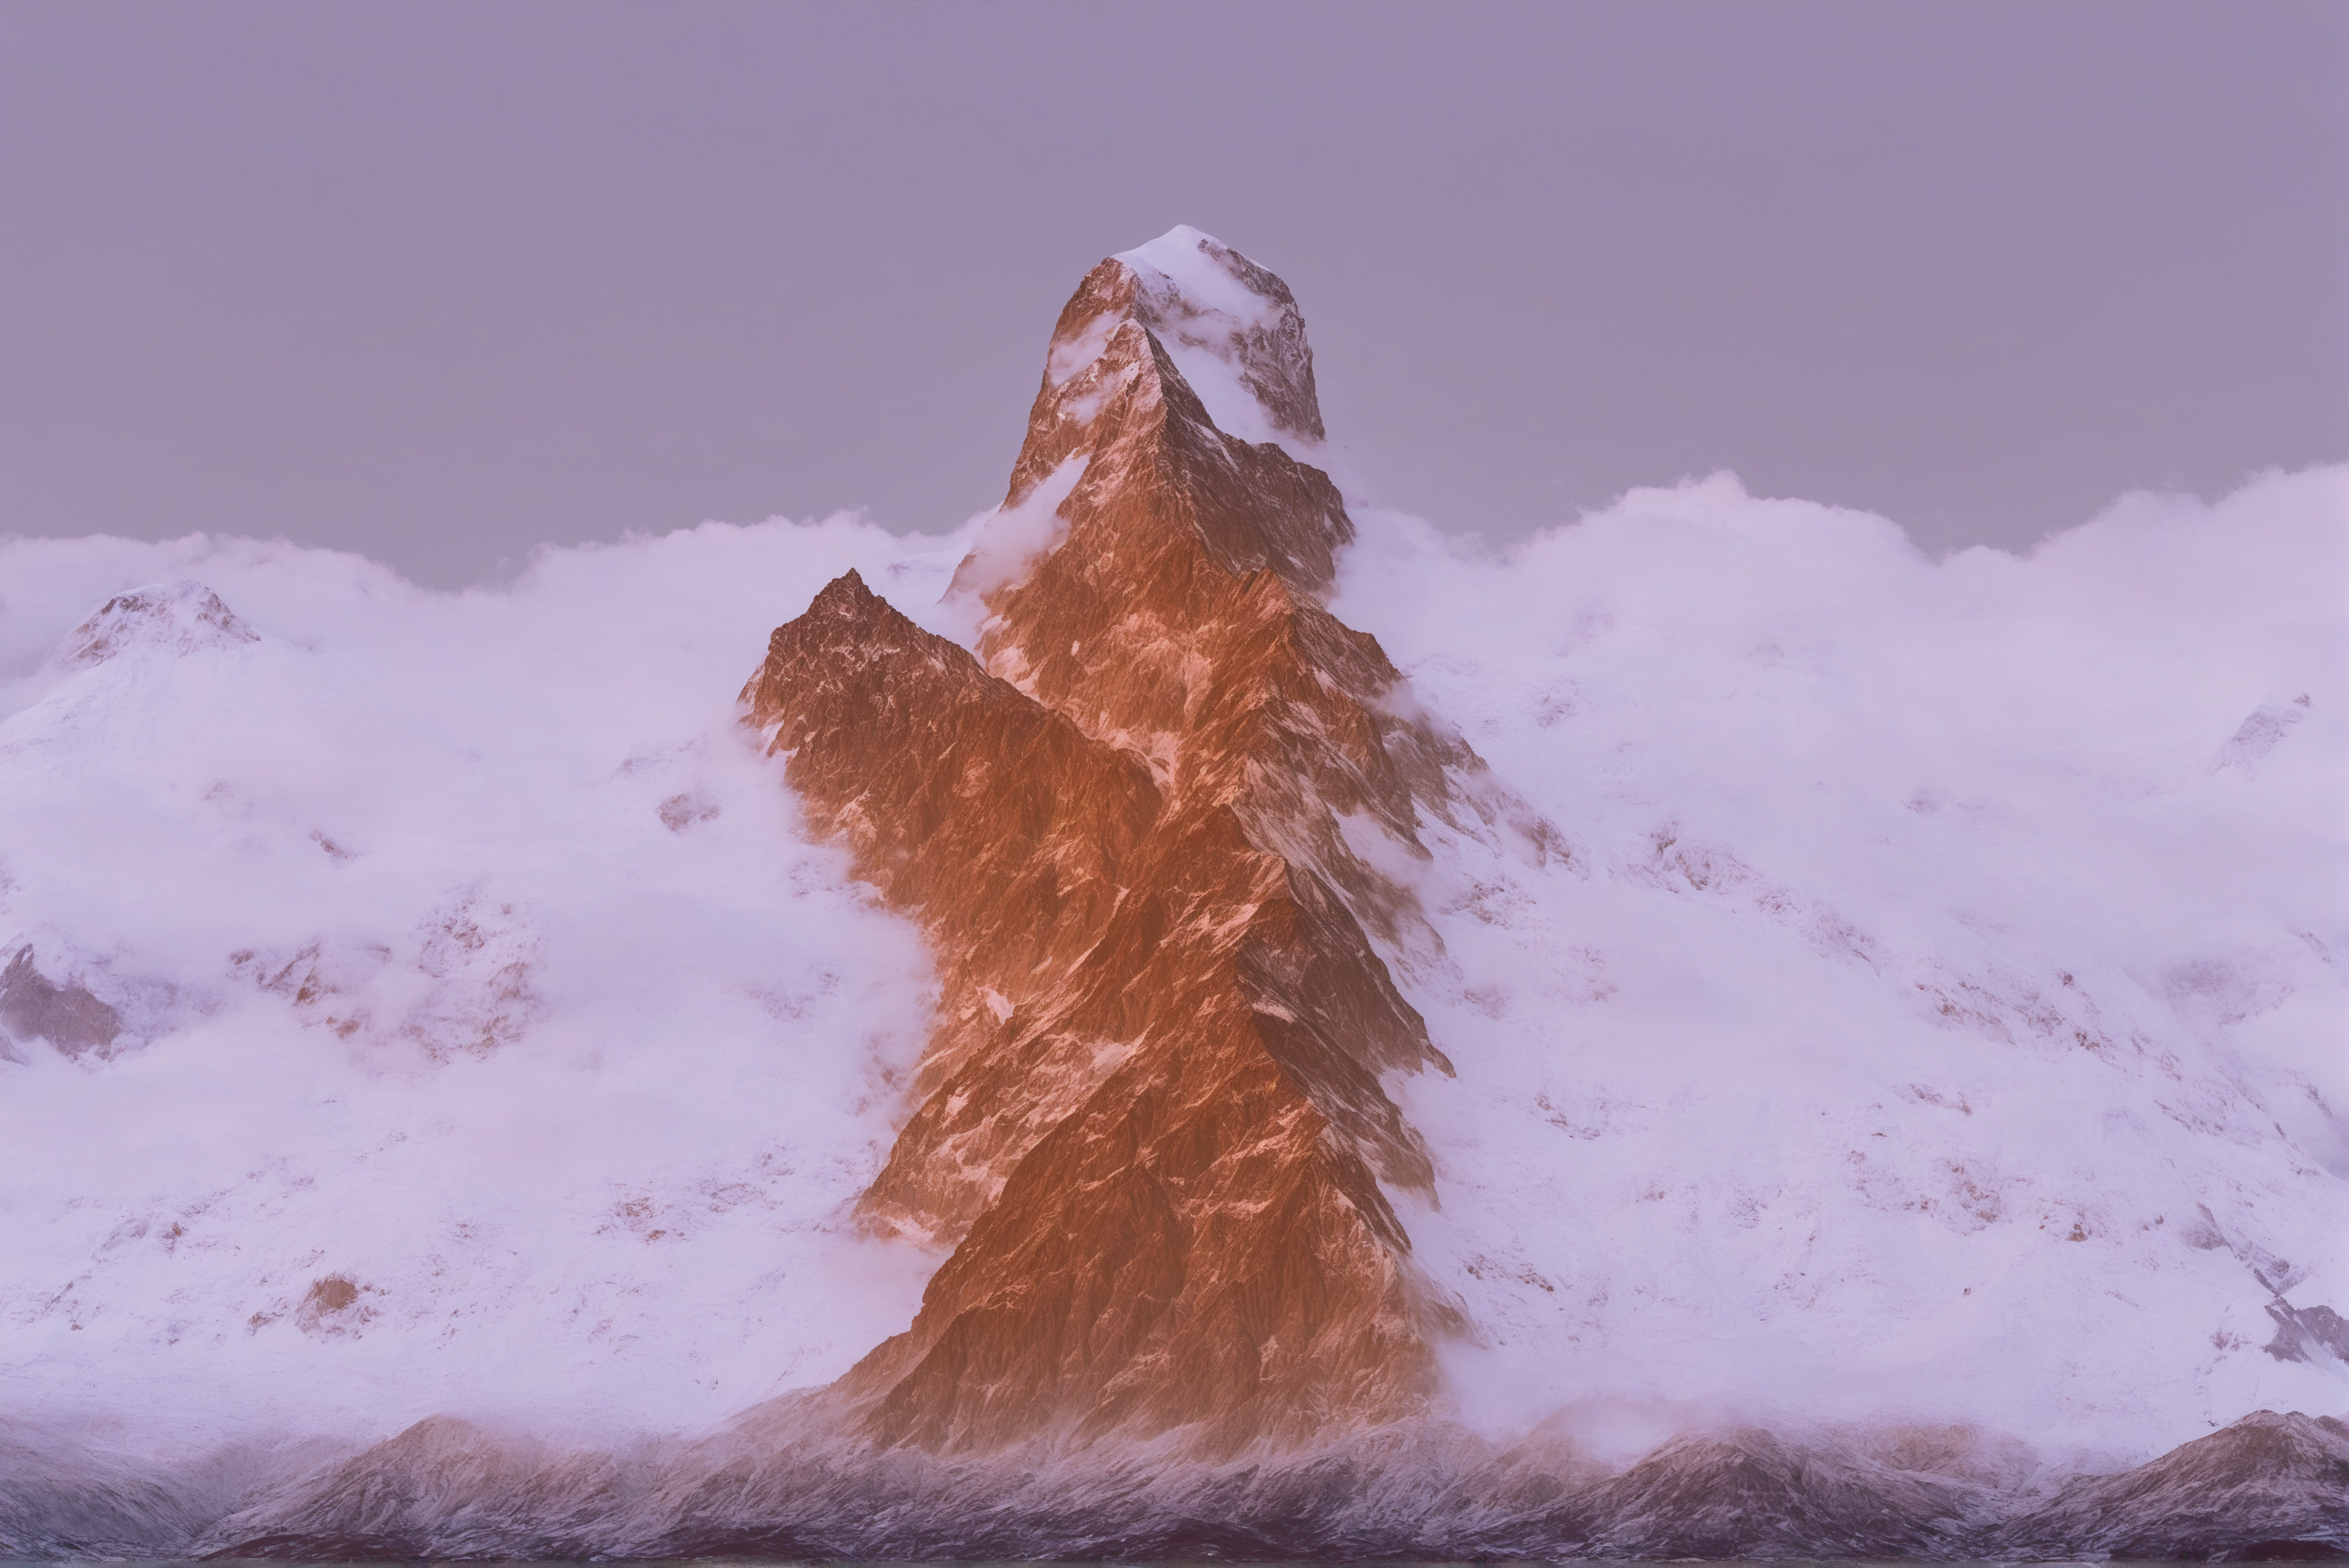
image = load_image("https://huggingface.co/datasets/huggingface/documentation-images/resolve/main/diffusers/ip_adapter_bear_1.png")
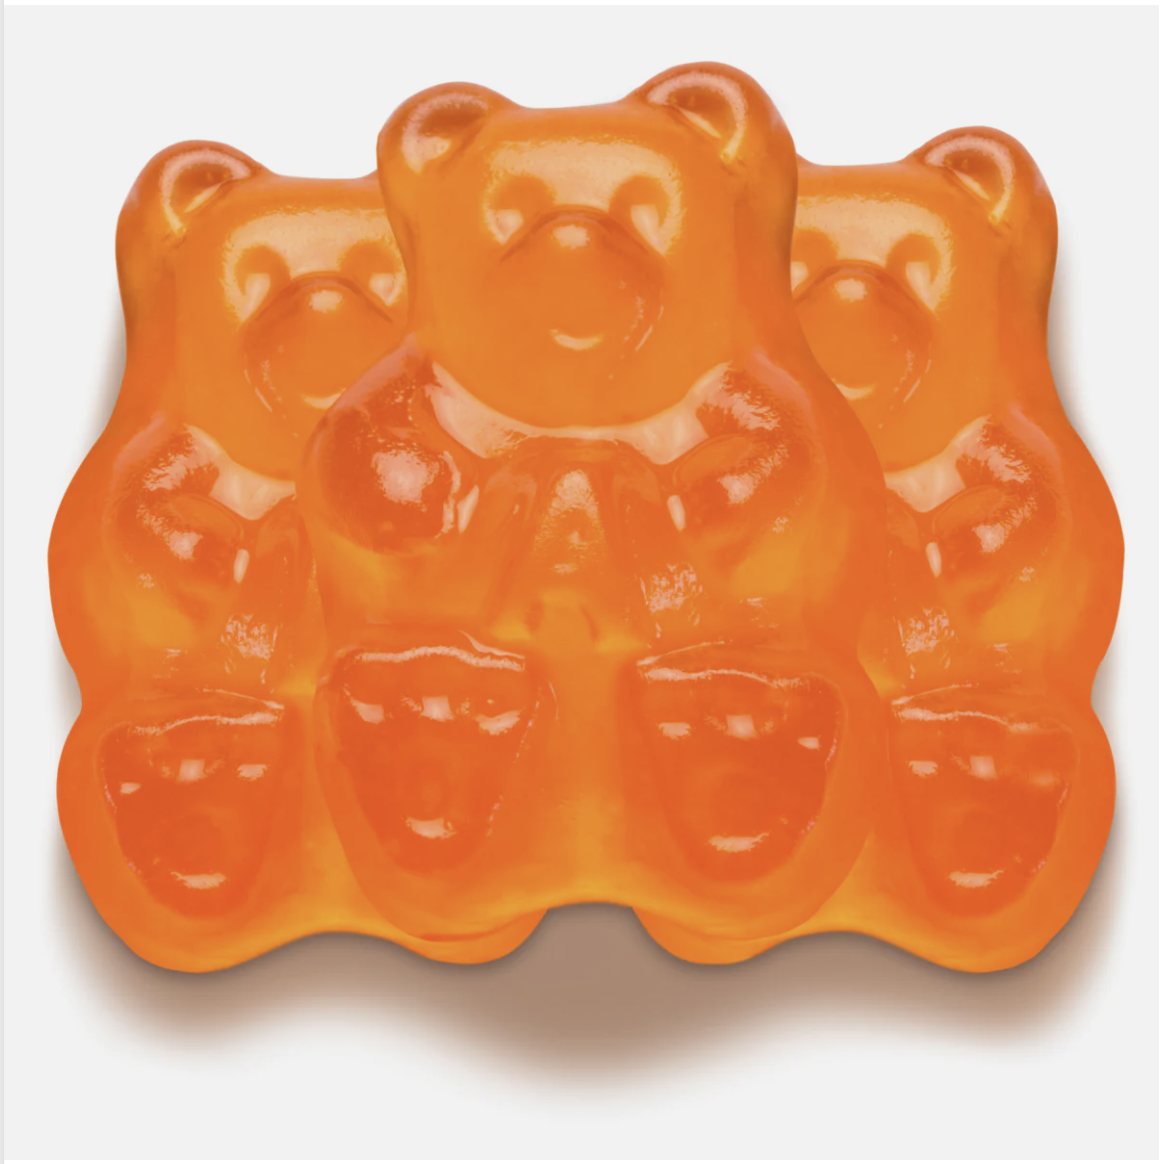
ip_image = load_image("https://huggingface.co/datasets/huggingface/documentation-images/resolve/main/diffusers/ip_adapter_gummy.png")
pipeline(
    prompt="best quality, high quality",
    image=image,
    ip_adapter_image=ip_image,
    strength=0.5,
).images[0]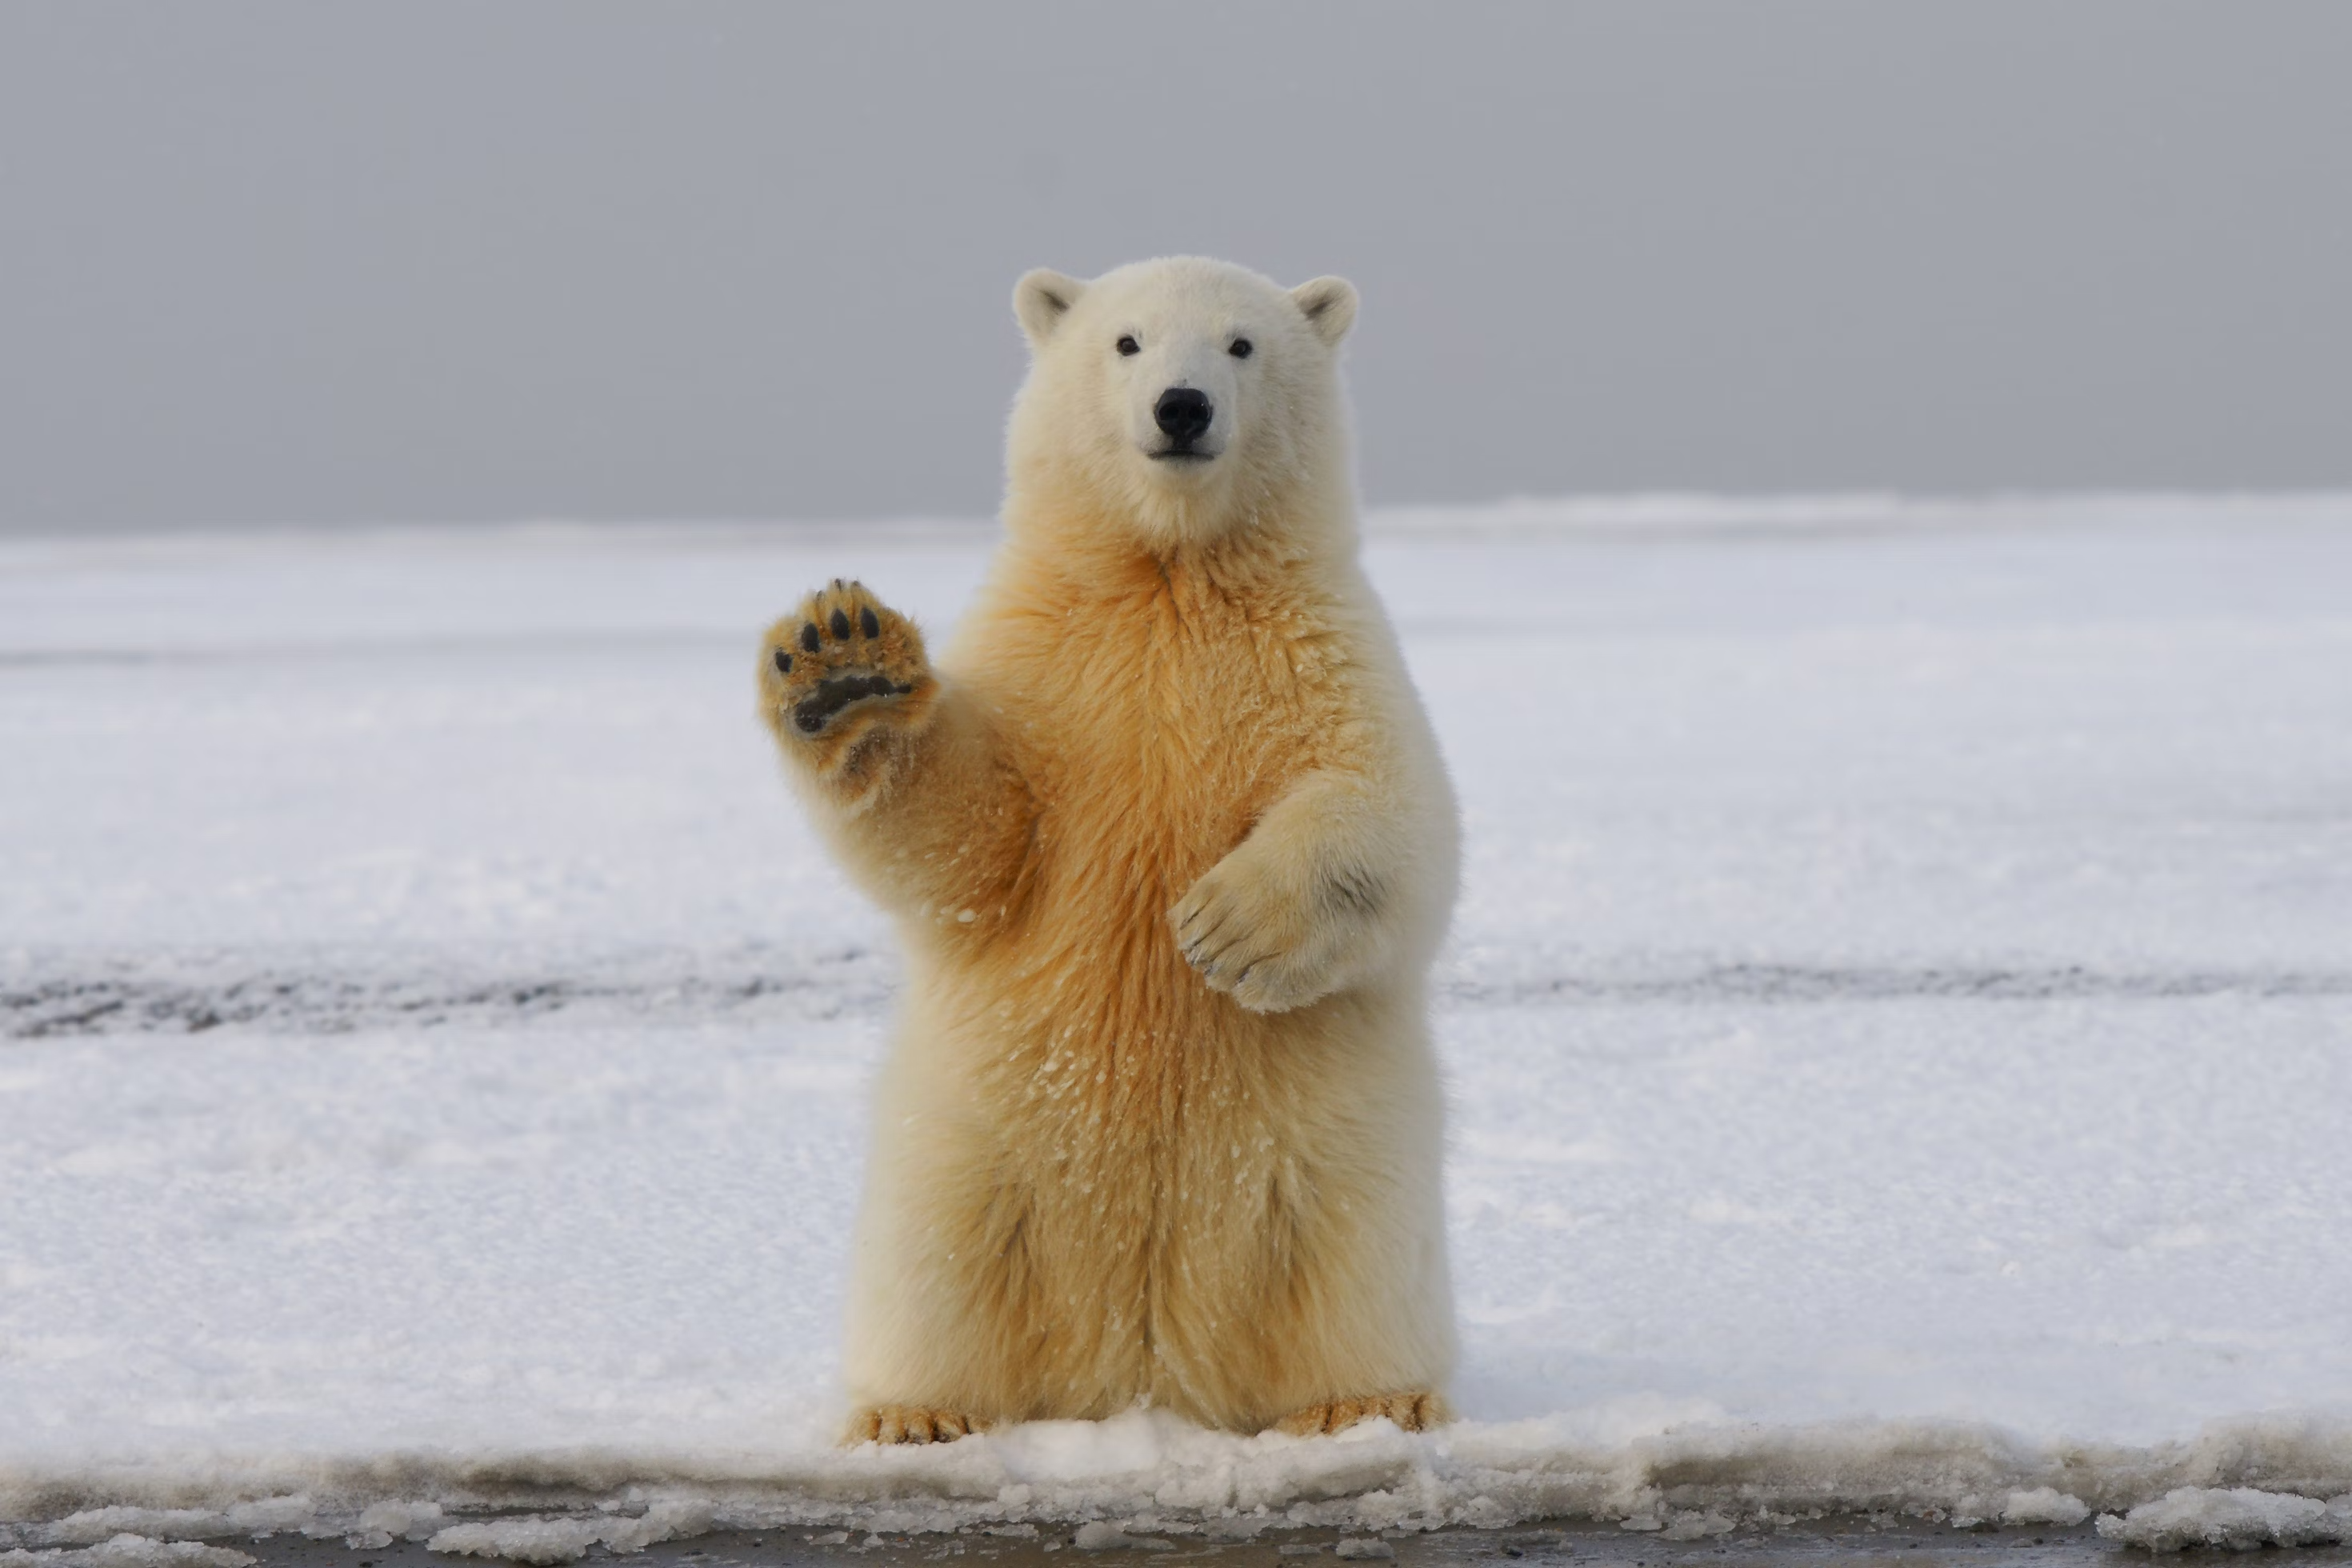
import torch
from diffusers import AutoPipelineForInpainting
from diffusers.utils import load_image

pipeline = AutoPipelineForInpainting.from_pretrained(
  "stabilityai/stable-diffusion-xl-base-1.0",
  dtype=torch.float16
).to("cuda")  # or "mps", "xpu", "cpu"
pipeline.load_ip_adapter(
  "h94/IP-Adapter",
  subfolder="sdxl_models",
  weight_name="ip-adapter_sdxl.bin"
)
pipeline.set_ip_adapter_scale(0.6)

mask_image = load_image("https://huggingface.co/datasets/huggingface/documentation-images/resolve/main/diffusers/ip_adapter_mask.png")
image = load_image("https://huggingface.co/datasets/huggingface/documentation-images/resolve/main/diffusers/ip_adapter_bear_1.png")
ip_image = load_image("https://huggingface.co/datasets/huggingface/documentation-images/resolve/main/diffusers/ip_adapter_gummy.png")
pipeline(
    prompt="a cute gummy bear waving",
    image=image,
    mask_image=mask_image,
    ip_adapter_image=ip_image,
).images[0] 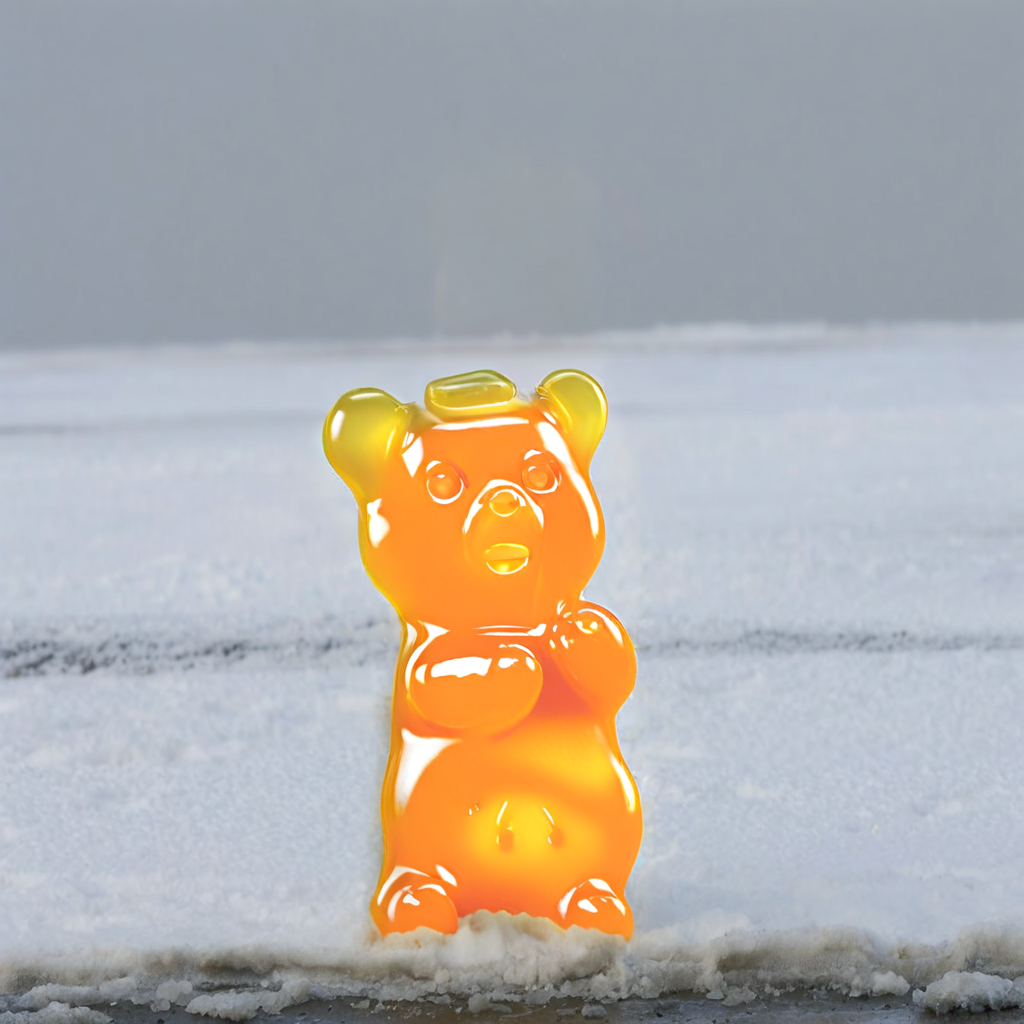
enable_model_cpu_offload() 方法有助于减少内存占用,应在加载 IP-Adapter 之后启用。否则,IP-Adapter 的图像编码器也会被卸载到 CPU,并返回错误。
import torch
from diffusers import AnimateDiffPipeline, DDIMScheduler, MotionAdapter
from diffusers.utils import export_to_gif
from diffusers.utils import load_image

adapter = MotionAdapter.from_pretrained(
  "guoyww/animatediff-motion-adapter-v1-5-2",
  dtype=torch.float16
)
pipeline = AnimateDiffPipeline.from_pretrained(
  "emilianJR/epiCRealism",
  motion_adapter=adapter,
  dtype=torch.float16
)
scheduler = DDIMScheduler.from_pretrained(
    "emilianJR/epiCRealism",
    subfolder="scheduler",
    clip_sample=False,
    timestep_spacing="linspace",
    beta_schedule="linear",
    steps_offset=1,
)
pipeline.scheduler = scheduler
pipeline.vae.enable_slicing()
pipeline.load_ip_adapter("h94/IP-Adapter", subfolder="models", weight_name="ip-adapter_sd15.bin")
pipeline.enable_model_cpu_offload()

ip_adapter_image = load_image("https://huggingface.co/datasets/huggingface/documentation-images/resolve/main/diffusers/ip_adapter_inpaint.png")
pipeline(
    prompt="A cute gummy bear waving",
    negative_prompt="bad quality, worse quality, low resolution",
    ip_adapter_image=ip_adapter_image,
    num_frames=16,
    guidance_scale=7.5,
    num_inference_steps=50,
).frames[0] 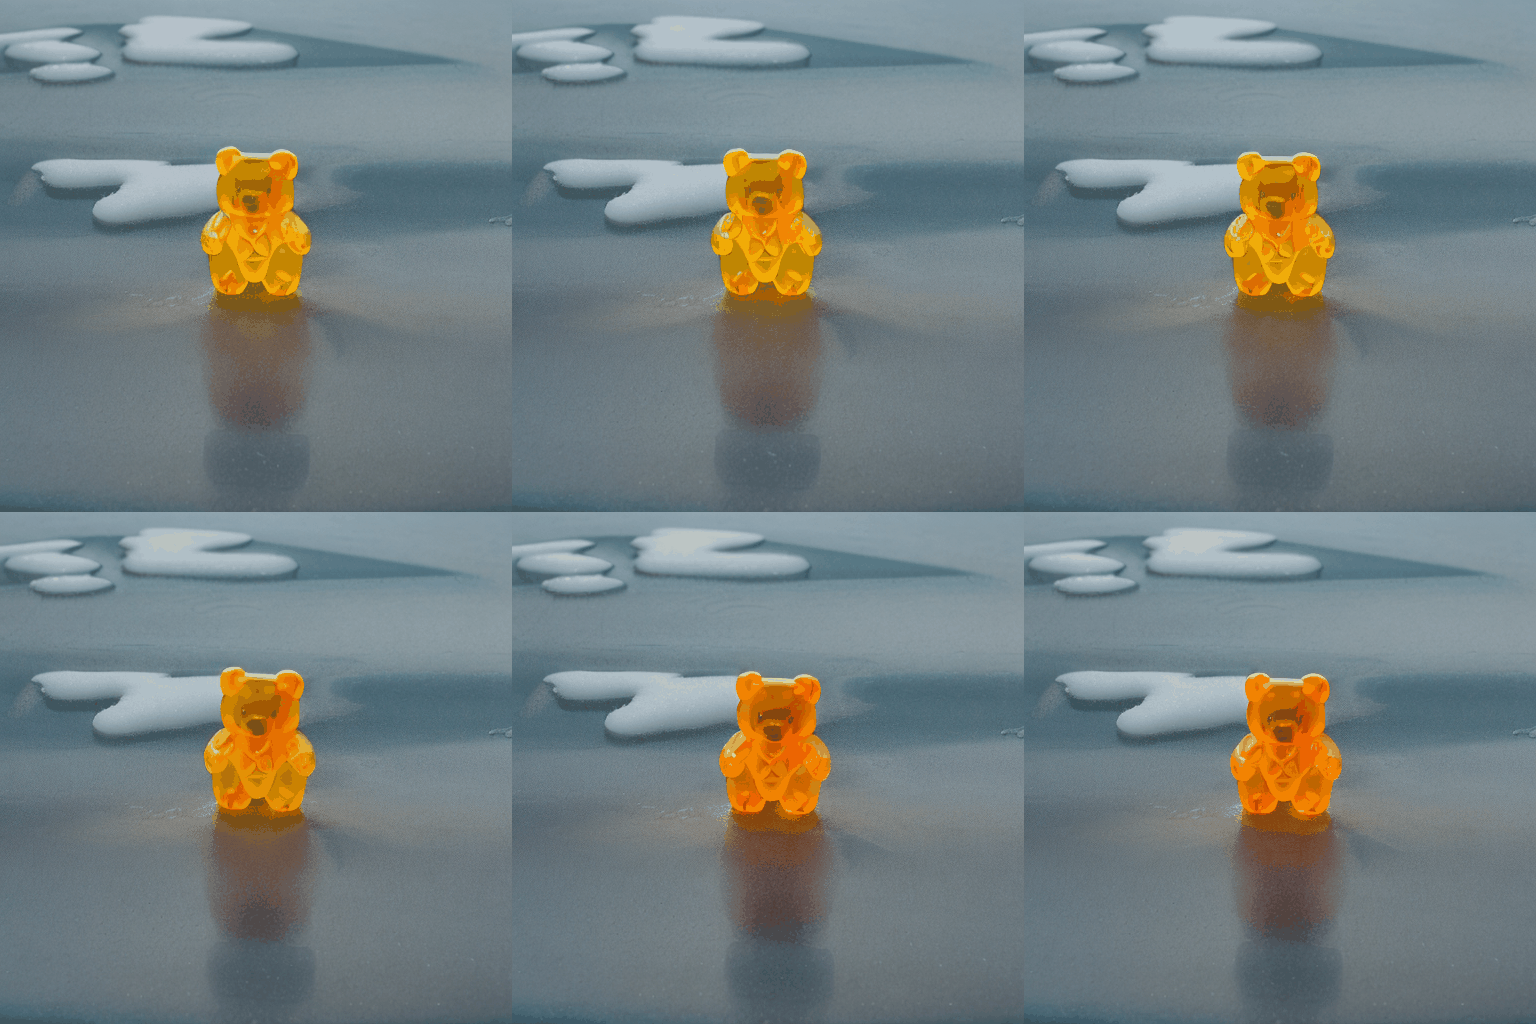
检查点变体
当参考图像的详细信息最为重要时,请加载 Plus。当您需要 InsightFace 身份嵌入而非 CLIP 图像嵌入时,请加载 FaceID。
import torch
from transformers import CLIPVisionModelWithProjection
from diffusers import AutoPipelineForText2Image

image_encoder = CLIPVisionModelWithProjection.from_pretrained(
    "h94/IP-Adapter",
    subfolder="models/image_encoder",
    dtype=torch.float16
)

pipeline = AutoPipelineForText2Image.from_pretrained(
    "stabilityai/stable-diffusion-xl-base-1.0",
    image_encoder=image_encoder,
    dtype=torch.float16
).to("cuda")  # or "mps", "xpu", "cpu"

pipeline.load_ip_adapter(
  "h94/IP-Adapter",
  subfolder="sdxl_models",
  weight_name="ip-adapter-plus_sdxl_vit-h.safetensors"
)
FaceID 检查点使用来自 InsightFace 的人脸嵌入,而非 CLIP 图像嵌入。对于 FaceID 模型,请使用 DDIMScheduler 或 EulerDiscreteScheduler。提取人脸嵌入后,将其作为张量列表传递给 ip_adapter_image_embeds。
# pip install insightface
import cv2
import numpy as np
import torch
from diffusers import StableDiffusionPipeline, DDIMScheduler
from diffusers.utils import load_image
from insightface.app import FaceAnalysis

pipeline = StableDiffusionPipeline.from_pretrained(
    "stable-diffusion-v1-5/stable-diffusion-v1-5",
    dtype=torch.float16,
).to("cuda")  # or "mps", "xpu", "cpu"
pipeline.scheduler = DDIMScheduler.from_config(pipeline.scheduler.config)
pipeline.load_ip_adapter(
  "h94/IP-Adapter-FaceID",
  subfolder=None,
  weight_name="ip-adapter-faceid_sd15.bin",
  image_encoder_folder=None
)
pipeline.set_ip_adapter_scale(0.6)

image = load_image("https://huggingface.co/datasets/huggingface/documentation-images/resolve/main/diffusers/ip_mask_girl1.png")

ref_images_embeds = []
app = FaceAnalysis(name="buffalo_l", providers=['CUDAExecutionProvider', 'CPUExecutionProvider'])
app.prepare(ctx_id=0, det_size=(640, 640))
image = cv2.cvtColor(np.asarray(image), cv2.COLOR_RGB2BGR)
faces = app.get(image)
image = torch.from_numpy(faces[0].normed_embedding)
ref_images_embeds.append(image.unsqueeze(0))
ref_images_embeds = torch.stack(ref_images_embeds, dim=0).unsqueeze(0)
neg_ref_images_embeds = torch.zeros_like(ref_images_embeds)
id_embeds = torch.cat([neg_ref_images_embeds, ref_images_embeds]).to(dtype=torch.float16, device="cuda")

pipeline(
    prompt="A photo of a girl",
    ip_adapter_image_embeds=[id_embeds],
    negative_prompt="monochrome, lowres, bad anatomy, worst quality, low quality",
).images[0]
对于 FaceID Plus,请加载 CLIPVisionModelWithProjection 作为图像编码器。
import torch
from transformers import CLIPVisionModelWithProjection
from diffusers import AutoPipelineForText2Image

image_encoder = CLIPVisionModelWithProjection.from_pretrained(
    "laion/CLIP-ViT-H-14-laion2B-s32B-b79K",
    dtype=torch.float16,
)

pipeline = AutoPipelineForText2Image.from_pretrained(
    "stable-diffusion-v1-5/stable-diffusion-v1-5",
    image_encoder=image_encoder,
    dtype=torch.float16
).to("cuda")  # or "mps", "xpu", "cpu"

pipeline.load_ip_adapter(
  "h94/IP-Adapter-FaceID",
  subfolder=None,
  weight_name="ip-adapter-faceid-plus_sd15.bin"
)
FaceID Plus 和 Plus v2 还需要在 InsightFace 嵌入的基础上使用 CLIP 图像嵌入。在准备好人脸嵌入后,对参考图像进行编码,并将 CLIP 嵌入分配给图像投影层。
import torch
from diffusers.utils import load_image

ip_adapter_images = load_image("https://huggingface.co/datasets/huggingface/documentation-images/resolve/main/diffusers/ip_mask_girl1.png")
num_images = 1
clip_embeds = pipeline.prepare_ip_adapter_image_embeds(
    ip_adapter_image=[ip_adapter_images],
    ip_adapter_image_embeds=None,
    device=torch.device("cuda"),
    num_images_per_prompt=num_images,
    do_classifier_free_guidance=True,
)[0]

pipeline.unet.encoder_hid_proj.image_projection_layers[0].clip_embeds = clip_embeds.to(dtype=torch.float16)
# set to True if using IP-Adapter FaceID Plus v2
pipeline.unet.encoder_hid_proj.image_projection_layers[0].shortcut = False
图像嵌入
prepare_ip_adapter_image_embeds() 将 IP-Adapter 图像编码为可保存和复用的嵌入。只需预先计算一次,而无需在每次运行流水线时都重新加载并编码相同的图像。
import torch
from diffusers import AutoPipelineForText2Image
from diffusers.utils import load_image

pipeline = AutoPipelineForText2Image.from_pretrained(
  "stabilityai/stable-diffusion-xl-base-1.0",
  dtype=torch.float16
).to("cuda")  # or "mps", "xpu", "cpu"
pipeline.load_ip_adapter(
  "h94/IP-Adapter",
  subfolder="sdxl_models",
  weight_name="ip-adapter_sdxl.bin"
)

image = load_image("https://huggingface.co/datasets/huggingface/documentation-images/resolve/main/diffusers/ip_adapter_bear_1.png")
image_embeds = pipeline.prepare_ip_adapter_image_embeds(
    ip_adapter_image=image,
    ip_adapter_image_embeds=None,
    device="cuda",
    num_images_per_prompt=1,
    do_classifier_free_guidance=True,
)

torch.save(image_embeds, "image_embeds.ipadpt")
通过向 ip_adapter_image_embeds 参数传入值来重新加载图像嵌入。由于生成图像嵌入不再需要图像编码器,请将 image_encoder_folder 设置为 None。
您还可以从 ComfyUI 等其他来源加载图像嵌入。
pipeline = AutoPipelineForText2Image.from_pretrained(
  "stabilityai/stable-diffusion-xl-base-1.0",
  dtype=torch.float16
).to("cuda")  # or "mps", "xpu", "cpu"
pipeline.load_ip_adapter(
  "h94/IP-Adapter",
  subfolder="sdxl_models",
  image_encoder_folder=None,
  weight_name="ip-adapter_sdxl.bin"
)
pipeline.set_ip_adapter_scale(0.8)
image_embeds = torch.load("image_embeds.ipadpt")
pipeline(
    prompt="a polar bear sitting in a chair drinking a milkshake",
    ip_adapter_image_embeds=image_embeds,
    negative_prompt="deformed, ugly, wrong proportion, low res, bad anatomy, worst quality, low quality",
    num_inference_steps=100,
).images[0]
掩码
二进制掩码(Binary masking)允许将 IP-Adapter 图像分配到输出图像的特定区域,因此适用于组合多个 IP-Adapter 图像。每个 IP-Adapter 图像都需要一个二进制掩码。
加载 IPAdapterMaskProcessor 以预处理图像掩码。为了获得最佳效果,请提供输出 height 和 width,以确保不同宽高比的掩码被调整到合适的大小。如果输入掩码的宽高比已经与生成图像的宽高比一致,则无需设置 height 和 width。
import torch
from diffusers import AutoPipelineForText2Image
from diffusers.image_processor import IPAdapterMaskProcessor
from diffusers.utils import load_image

pipeline = AutoPipelineForText2Image.from_pretrained(
  "stabilityai/stable-diffusion-xl-base-1.0",
  dtype=torch.float16
).to("cuda")  # or "mps", "xpu", "cpu"

mask1 = load_image("https://huggingface.co/datasets/huggingface/documentation-images/resolve/main/diffusers/ip_mask_mask1.png")
mask2 = load_image("https://huggingface.co/datasets/huggingface/documentation-images/resolve/main/diffusers/ip_mask_mask2.png")

processor = IPAdapterMaskProcessor()
masks = processor.preprocess([mask1, mask2], height=1024, width=1024)

以列表形式同时提供 IP-Adapter 图像及其对应的缩放系数。将预处理后的掩码传入管道中的 cross_attention_kwargs。
face_image1 = load_image("https://huggingface.co/datasets/huggingface/documentation-images/resolve/main/diffusers/ip_mask_girl1.png")
face_image2 = load_image("https://huggingface.co/datasets/huggingface/documentation-images/resolve/main/diffusers/ip_mask_girl2.png")

pipeline.load_ip_adapter(
  "h94/IP-Adapter",
  subfolder="sdxl_models",
  weight_name=["ip-adapter-plus-face_sdxl_vit-h.safetensors"]
)
pipeline.set_ip_adapter_scale([[0.7, 0.7]])

ip_images = [[face_image1, face_image2]]
masks = [masks.reshape(1, masks.shape[0], masks.shape[2], masks.shape[3])]

pipeline(
  prompt="2 girls",
  ip_adapter_image=ip_images,
  negative_prompt="monochrome, lowres, bad anatomy, worst quality, low quality",
  cross_attention_kwargs={"ip_adapter_masks": masks}
).images[0]


配方
当单张参考图像不够用时,可以将 IP-Adapter 与其他适配器或流水线结合使用,例如多个适配器、ControlNet、InstantStyle 或 few-step LCM。
多个 IP-Adapter
组合多个 IP-Adapter 以生成风格更多样的图像。例如,你可以使用 IP-Adapter Face 生成一致的面孔和角色,并使用 IP-Adapter Plus 以特定风格生成这些面孔。
使用 CLIPVisionModelWithProjection 加载图像编码器。
import torch
from diffusers import AutoPipelineForText2Image, DDIMScheduler
from transformers import CLIPVisionModelWithProjection
from diffusers.utils import load_image

image_encoder = CLIPVisionModelWithProjection.from_pretrained(
    "h94/IP-Adapter",
    subfolder="models/image_encoder",
    dtype=torch.float16,
)
加载基础模型、调度器以及以下 IP-Adapter。
- ip-adapter-plus_sdxl_vit-h 使用 patch 嵌入和 ViT-H 图像编码器
- ip-adapter-plus-face_sdxl_vit-h 使用 patch embeddings 和 ViT-H 图像编码器,但其条件输入为裁剪后的人脸图像
pipeline = AutoPipelineForText2Image.from_pretrained(
    "stabilityai/stable-diffusion-xl-base-1.0",
    dtype=torch.float16,
    image_encoder=image_encoder,
)
pipeline.scheduler = DDIMScheduler.from_config(pipeline.scheduler.config)
pipeline.load_ip_adapter(
  "h94/IP-Adapter",
  subfolder="sdxl_models",
  weight_name=["ip-adapter-plus_sdxl_vit-h.safetensors", "ip-adapter-plus-face_sdxl_vit-h.safetensors"]
)
pipeline.set_ip_adapter_scale([0.7, 0.3])
# enable_model_cpu_offload to reduce memory usage
pipeline.enable_model_cpu_offload()
加载一张图像以及一个包含特定风格图像的文件夹,以应用该风格。
face_image = load_image("https://huggingface.co/datasets/YiYiXu/testing-images/resolve/main/women_input.png")
style_folder = "https://huggingface.co/datasets/YiYiXu/testing-images/resolve/main/style_ziggy"
style_images = [load_image(f"{style_folder}/img{i}.png") for i in range(10)]

将风格图像和人脸图像以列表形式传入 ip_adapter_image。
generator = torch.Generator(device="cpu").manual_seed(0)

pipeline(
    prompt="wonderwoman",
    ip_adapter_image=[style_images, face_image],
    negative_prompt="monochrome, lowres, bad anatomy, worst quality, low quality",
).images[0]
结构控制
在结构控制方面,可以将 IP-Adapter 与 ControlNet 结合使用,并以深度图、边缘图、姿态估计等作为条件。
以下示例加载了一个以深度图为条件的 ControlNetModel 检查点,并将其与 IP-Adapter 结合使用。
import torch
from diffusers.utils import load_image
from diffusers import StableDiffusionControlNetPipeline, ControlNetModel

controlnet = ControlNetModel.from_pretrained(
  "lllyasviel/control_v11f1p_sd15_depth",
  dtype=torch.float16
)

pipeline = StableDiffusionControlNetPipeline.from_pretrained(
    "stable-diffusion-v1-5/stable-diffusion-v1-5",
    controlnet=controlnet,
    dtype=torch.float16
).to("cuda")  # or "mps", "xpu", "cpu"
pipeline.load_ip_adapter(
  "h94/IP-Adapter",
  subfolder="models",
  weight_name="ip-adapter_sd15.bin"
)
将深度图和 IP-Adapter 图像传入 pipeline。
depth_map = load_image("https://huggingface.co/datasets/YiYiXu/testing-images/resolve/main/depth.png")
ip_adapter_image = load_image("https://huggingface.co/datasets/YiYiXu/testing-images/resolve/main/statue.png")
pipeline(
  prompt="best quality, high quality",
  image=depth_map,
  ip_adapter_image=ip_adapter_image,
  negative_prompt="monochrome, lowres, bad anatomy, worst quality, low quality",
).images[0]


样式和布局控制
如需控制风格和布局,请将 IP-Adapter 与 InstantStyle 结合使用。InstantStyle 将 风格(颜色、纹理、整体感觉)与 内容 分离,并仅在风格特定的块中应用风格,从而保持内容区域完整。这能带来更强的风格一致性和更清晰的布局控制。
使用 set_ip_adapter_scale() 仅在选定的层中激活 IP-Adapter。下面的示例在模型的 down block_2(布局)和 up block_0(风格)中将其开启。
import torch
from diffusers import AutoPipelineForText2Image
from diffusers.utils import load_image

pipeline = AutoPipelineForText2Image.from_pretrained(
  "stabilityai/stable-diffusion-xl-base-1.0",
  dtype=torch.float16
).to("cuda")  # or "mps", "xpu", "cpu"
pipeline.load_ip_adapter(
  "h94/IP-Adapter",
  subfolder="sdxl_models",
  weight_name="ip-adapter_sdxl.bin"
)

scale = {
    "down": {"block_2": [0.0, 1.0]},
    "up": {"block_0": [0.0, 1.0, 0.0]},
}
pipeline.set_ip_adapter_scale(scale)
加载风格图像并生成图像。
style_image = load_image("https://huggingface.co/datasets/huggingface/documentation-images/resolve/0052a70beed5bf71b92610a43a52df6d286cd5f3/diffusers/rabbit.jpg")

pipeline(
    prompt="a cat, masterpiece, best quality, high quality",
    ip_adapter_image=style_image,
    negative_prompt="text, watermark, lowres, low quality, worst quality, deformed, glitch, low contrast, noisy, saturation, blurry",
    guidance_scale=5,
).images[0]

下图比较了 InstantStyle 的仅风格激活(仅 block_0)与在所有层中启用 IP-Adapter 的效果。在所有层中启用通常会更强烈地遵循图像提示,并可能降低多样性。如果您希望保留 InstantStyle 的布局保持特性,建议优先选择仅风格激活。
您无需在
scale字典中指定所有层。未包含的层会被设置为 0,这意味着 IP-Adapter 处于禁用状态。
scale = {
    "up": {"block_0": [0.0, 1.0, 0.0]},
}
pipeline.set_ip_adapter_scale(scale)

pipeline(
    prompt="a cat, masterpiece, best quality, high quality",
    ip_adapter_image=style_image,
    negative_prompt="text, watermark, lowres, low quality, worst quality, deformed, glitch, low contrast, noisy, saturation, blurry",
    guidance_scale=5,
).images[0]

即时生成
将 IP-Adapter 与 LCM LoRA 结合,实现少步生成。
import torch
from diffusers import DiffusionPipeline, LCMScheduler
from diffusers.utils import load_image

pipeline = DiffusionPipeline.from_pretrained(
  "sd-dreambooth-library/herge-style",
  dtype=torch.float16
)
pipeline.load_ip_adapter(
  "h94/IP-Adapter",
  subfolder="models",
  weight_name="ip-adapter_sd15.bin"
)
pipeline.load_lora_weights("latent-consistency/lcm-lora-sdv1-5")
pipeline.scheduler = LCMScheduler.from_config(pipeline.scheduler.config)
pipeline.enable_model_cpu_offload()

pipeline.set_ip_adapter_scale(0.4)
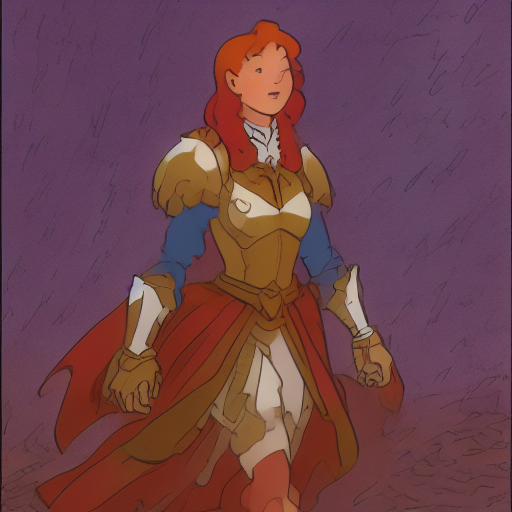
ip_adapter_image = load_image("https://user-images.githubusercontent.com/24734142/266492875-2d50d223-8475-44f0-a7c6-08b51cb53572.png")
pipeline(
    prompt="herge_style woman in armor, best quality, high quality",
    ip_adapter_image=ip_adapter_image,
    num_inference_steps=4,
    guidance_scale=1,
).images[0]