Diffusers documentation
IP-Adapter
IP-Adapter
IP-Adapterは、テキストプロンプトを維持したまま、参照画像によって事前学習済みの拡散モデルを制御します。ベースモデルを凍結し、少量の画像クロスアテンション層を追加するだけで済むため、ファインチューニングなしで写真から被写体やスタイルを一致させる用途に実用的です。
text prompt                         reference image
    |                                     |
 text encoder                        image encoder
    |                                     |
    v                                     v
 text cross-attn  (frozen)          IP-Adapter cross-attn
    \                                     /
     \                                   /
      +-------->  denoiser  <-----------+
(frozen base)IP-Adapterのチェックポイントは、アダプター重みを保存するだけで完全なモデルを保存しないため、通常は約100MBです。まずベースのパイプラインを読み込み、その後でload_ip_adapter()を使ってアダプターを読み込みます。
IP-Adapterは、FluxやStable Diffusion 3など多くのモデルで利用可能です。本ガイドの例では、Stable DiffusionとStable Diffusion XLを使用しています。
set_ip_adapter_scale() を使用して、IP-Adapter が生成をどの程度強く制御するかを調整できます。1.0 を設定するとアダプターが最大強度で適用され、0.5 を設定すると通常、テキストプロンプトと画像プロンプトのバランスが保たれます。
以下の例では、一般的なタスクにおけるIP-Adapterの使用例を示しています。
import torch
from diffusers import AutoPipelineForText2Image
from diffusers.utils import load_image

pipeline = AutoPipelineForText2Image.from_pretrained(
  "stabilityai/stable-diffusion-xl-base-1.0",
  dtype=torch.float16
).to("cuda")  # or "mps", "xpu", "cpu"
pipeline.load_ip_adapter(
  "h94/IP-Adapter",
  subfolder="sdxl_models",
  weight_name="ip-adapter_sdxl.bin"
)
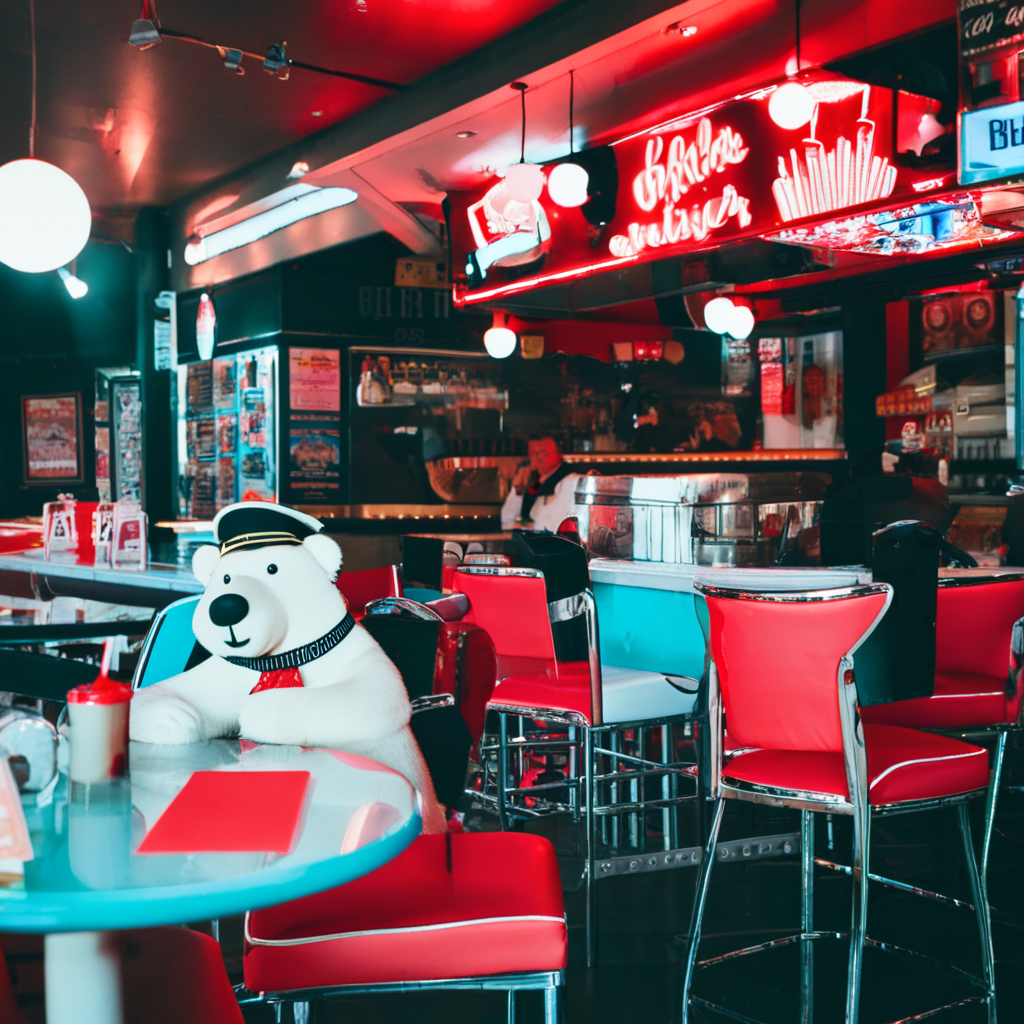
pipeline.set_ip_adapter_scale(0.8)テキストプロンプトとともに画像をip_adapter_imageに渡して、画像を生成します。
image = load_image("https://huggingface.co/datasets/huggingface/documentation-images/resolve/main/diffusers/ip_adapter_diner.png")
pipeline(
    prompt="a polar bear sitting in a chair drinking a milkshake",
    ip_adapter_image=image,
    negative_prompt="deformed, ugly, wrong proportion, low res, bad anatomy, worst quality, low quality",
).images[0]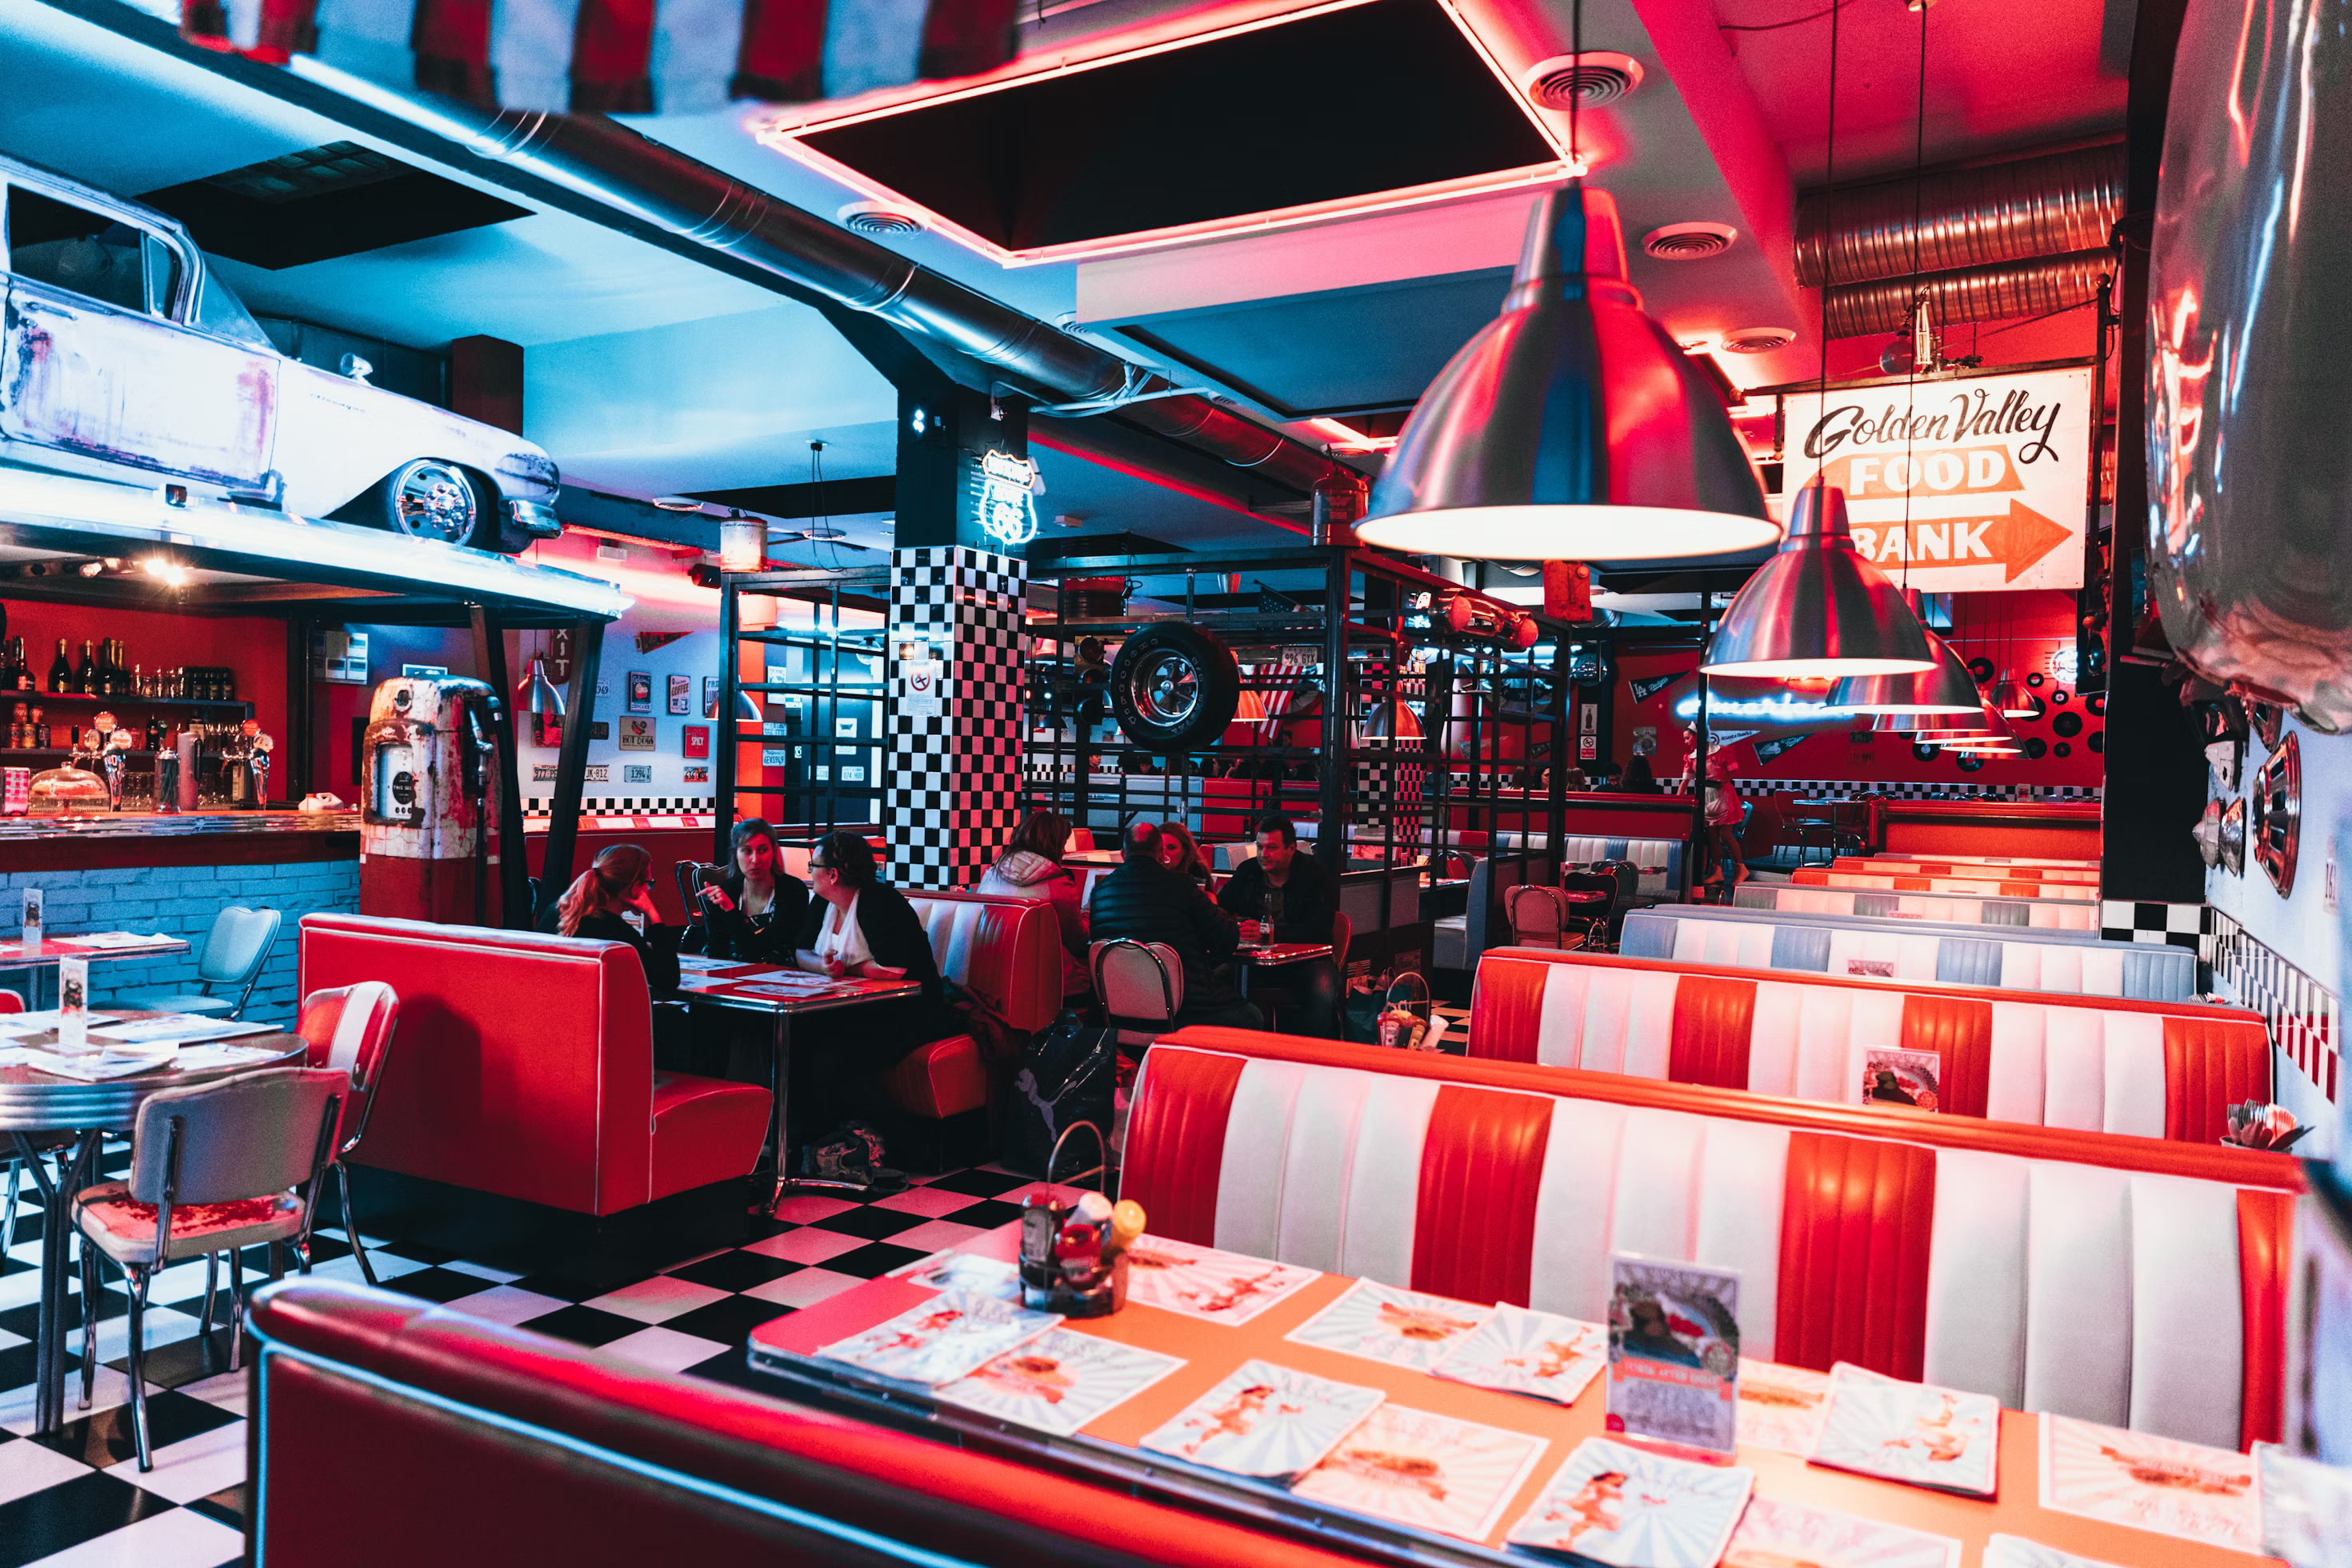
import torch
from diffusers import AutoPipelineForImage2Image
from diffusers.utils import load_image

pipeline = AutoPipelineForImage2Image.from_pretrained(
  "stabilityai/stable-diffusion-xl-base-1.0",
  dtype=torch.float16
).to("cuda")  # or "mps", "xpu", "cpu"
pipeline.load_ip_adapter(
  "h94/IP-Adapter",
  subfolder="sdxl_models",
  weight_name="ip-adapter_sdxl.bin"
)
pipeline.set_ip_adapter_scale(0.8)

image = load_image("https://huggingface.co/datasets/huggingface/documentation-images/resolve/main/diffusers/ip_adapter_bear_1.png")
ip_image = load_image("https://huggingface.co/datasets/huggingface/documentation-images/resolve/main/diffusers/ip_adapter_gummy.png")
pipeline(
    prompt="best quality, high quality",
    image=image,
    ip_adapter_image=ip_image,
    strength=0.5,
).images[0]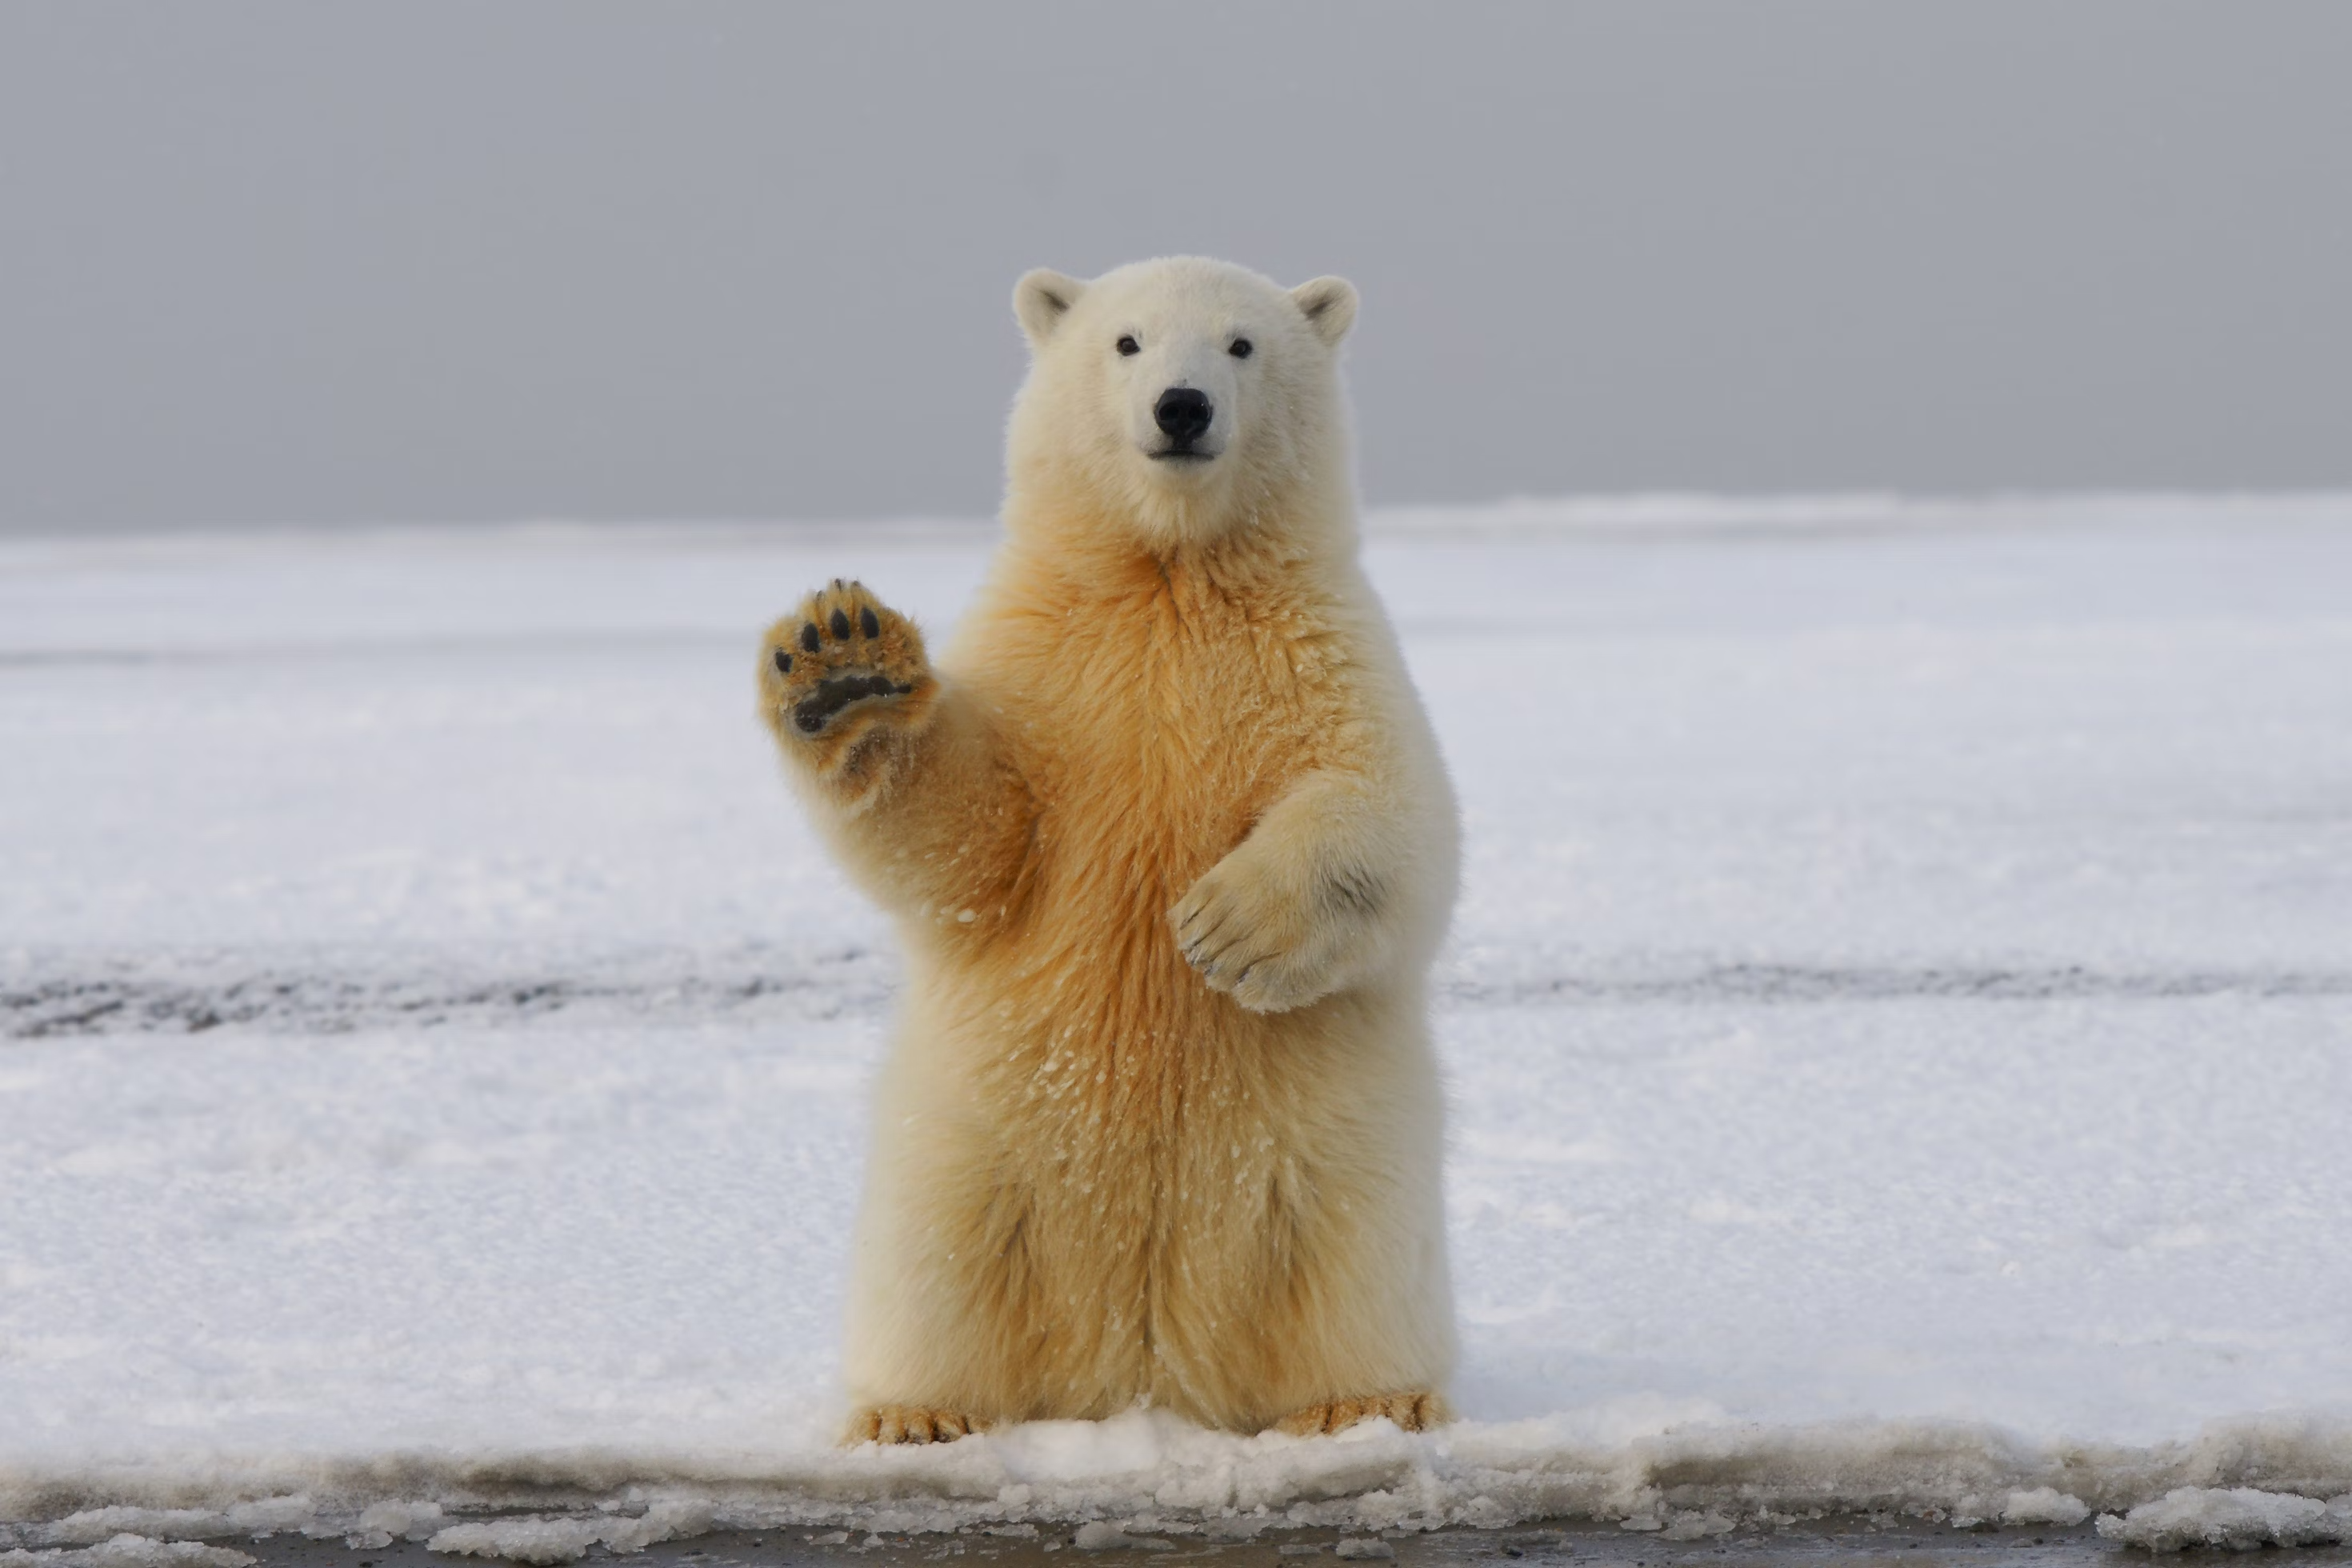
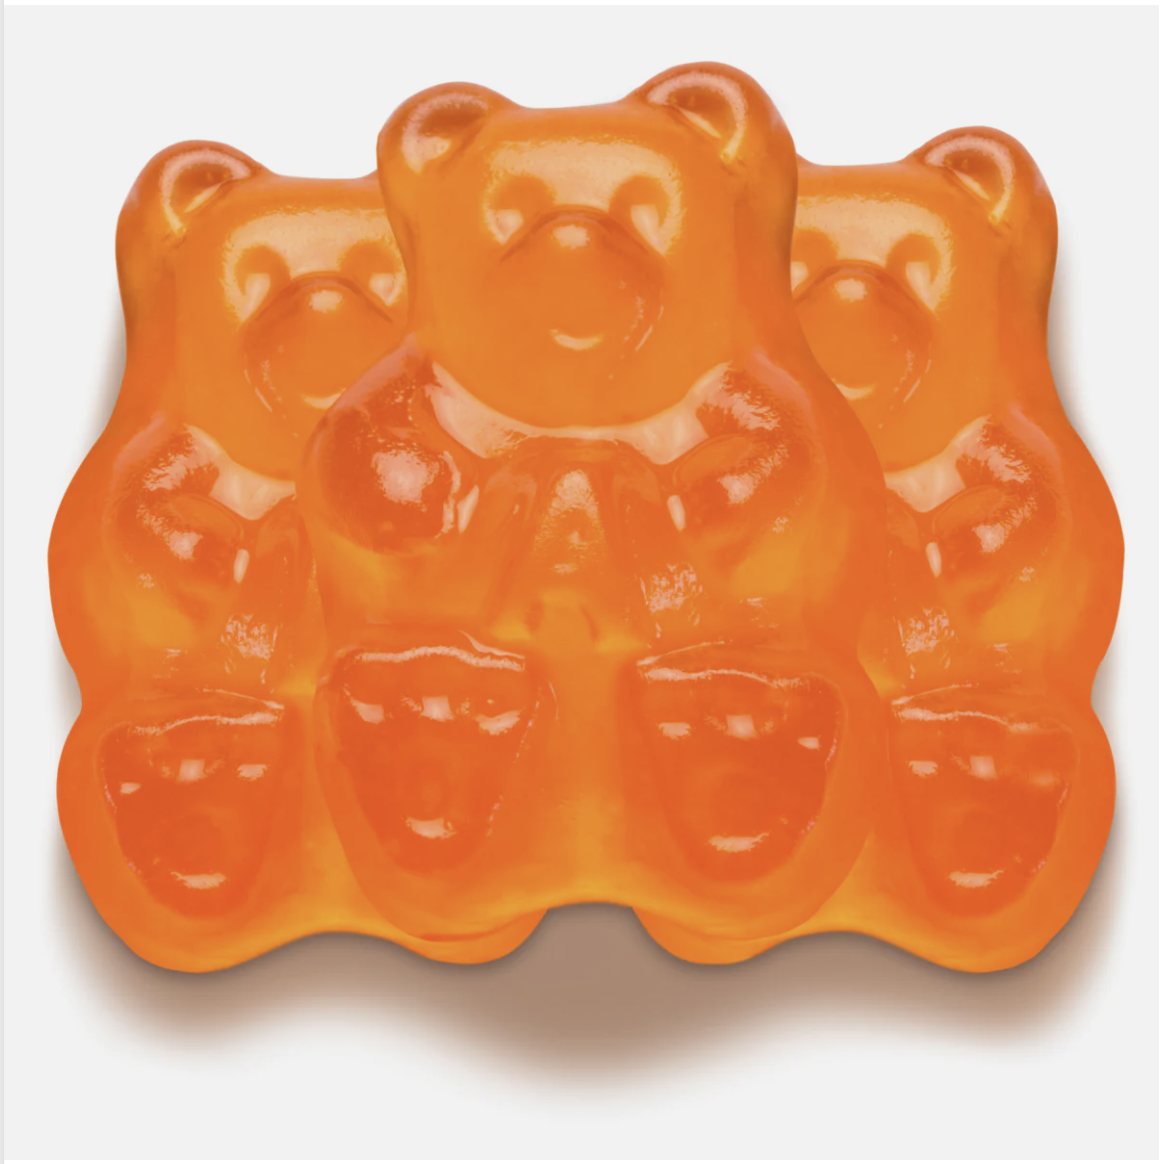
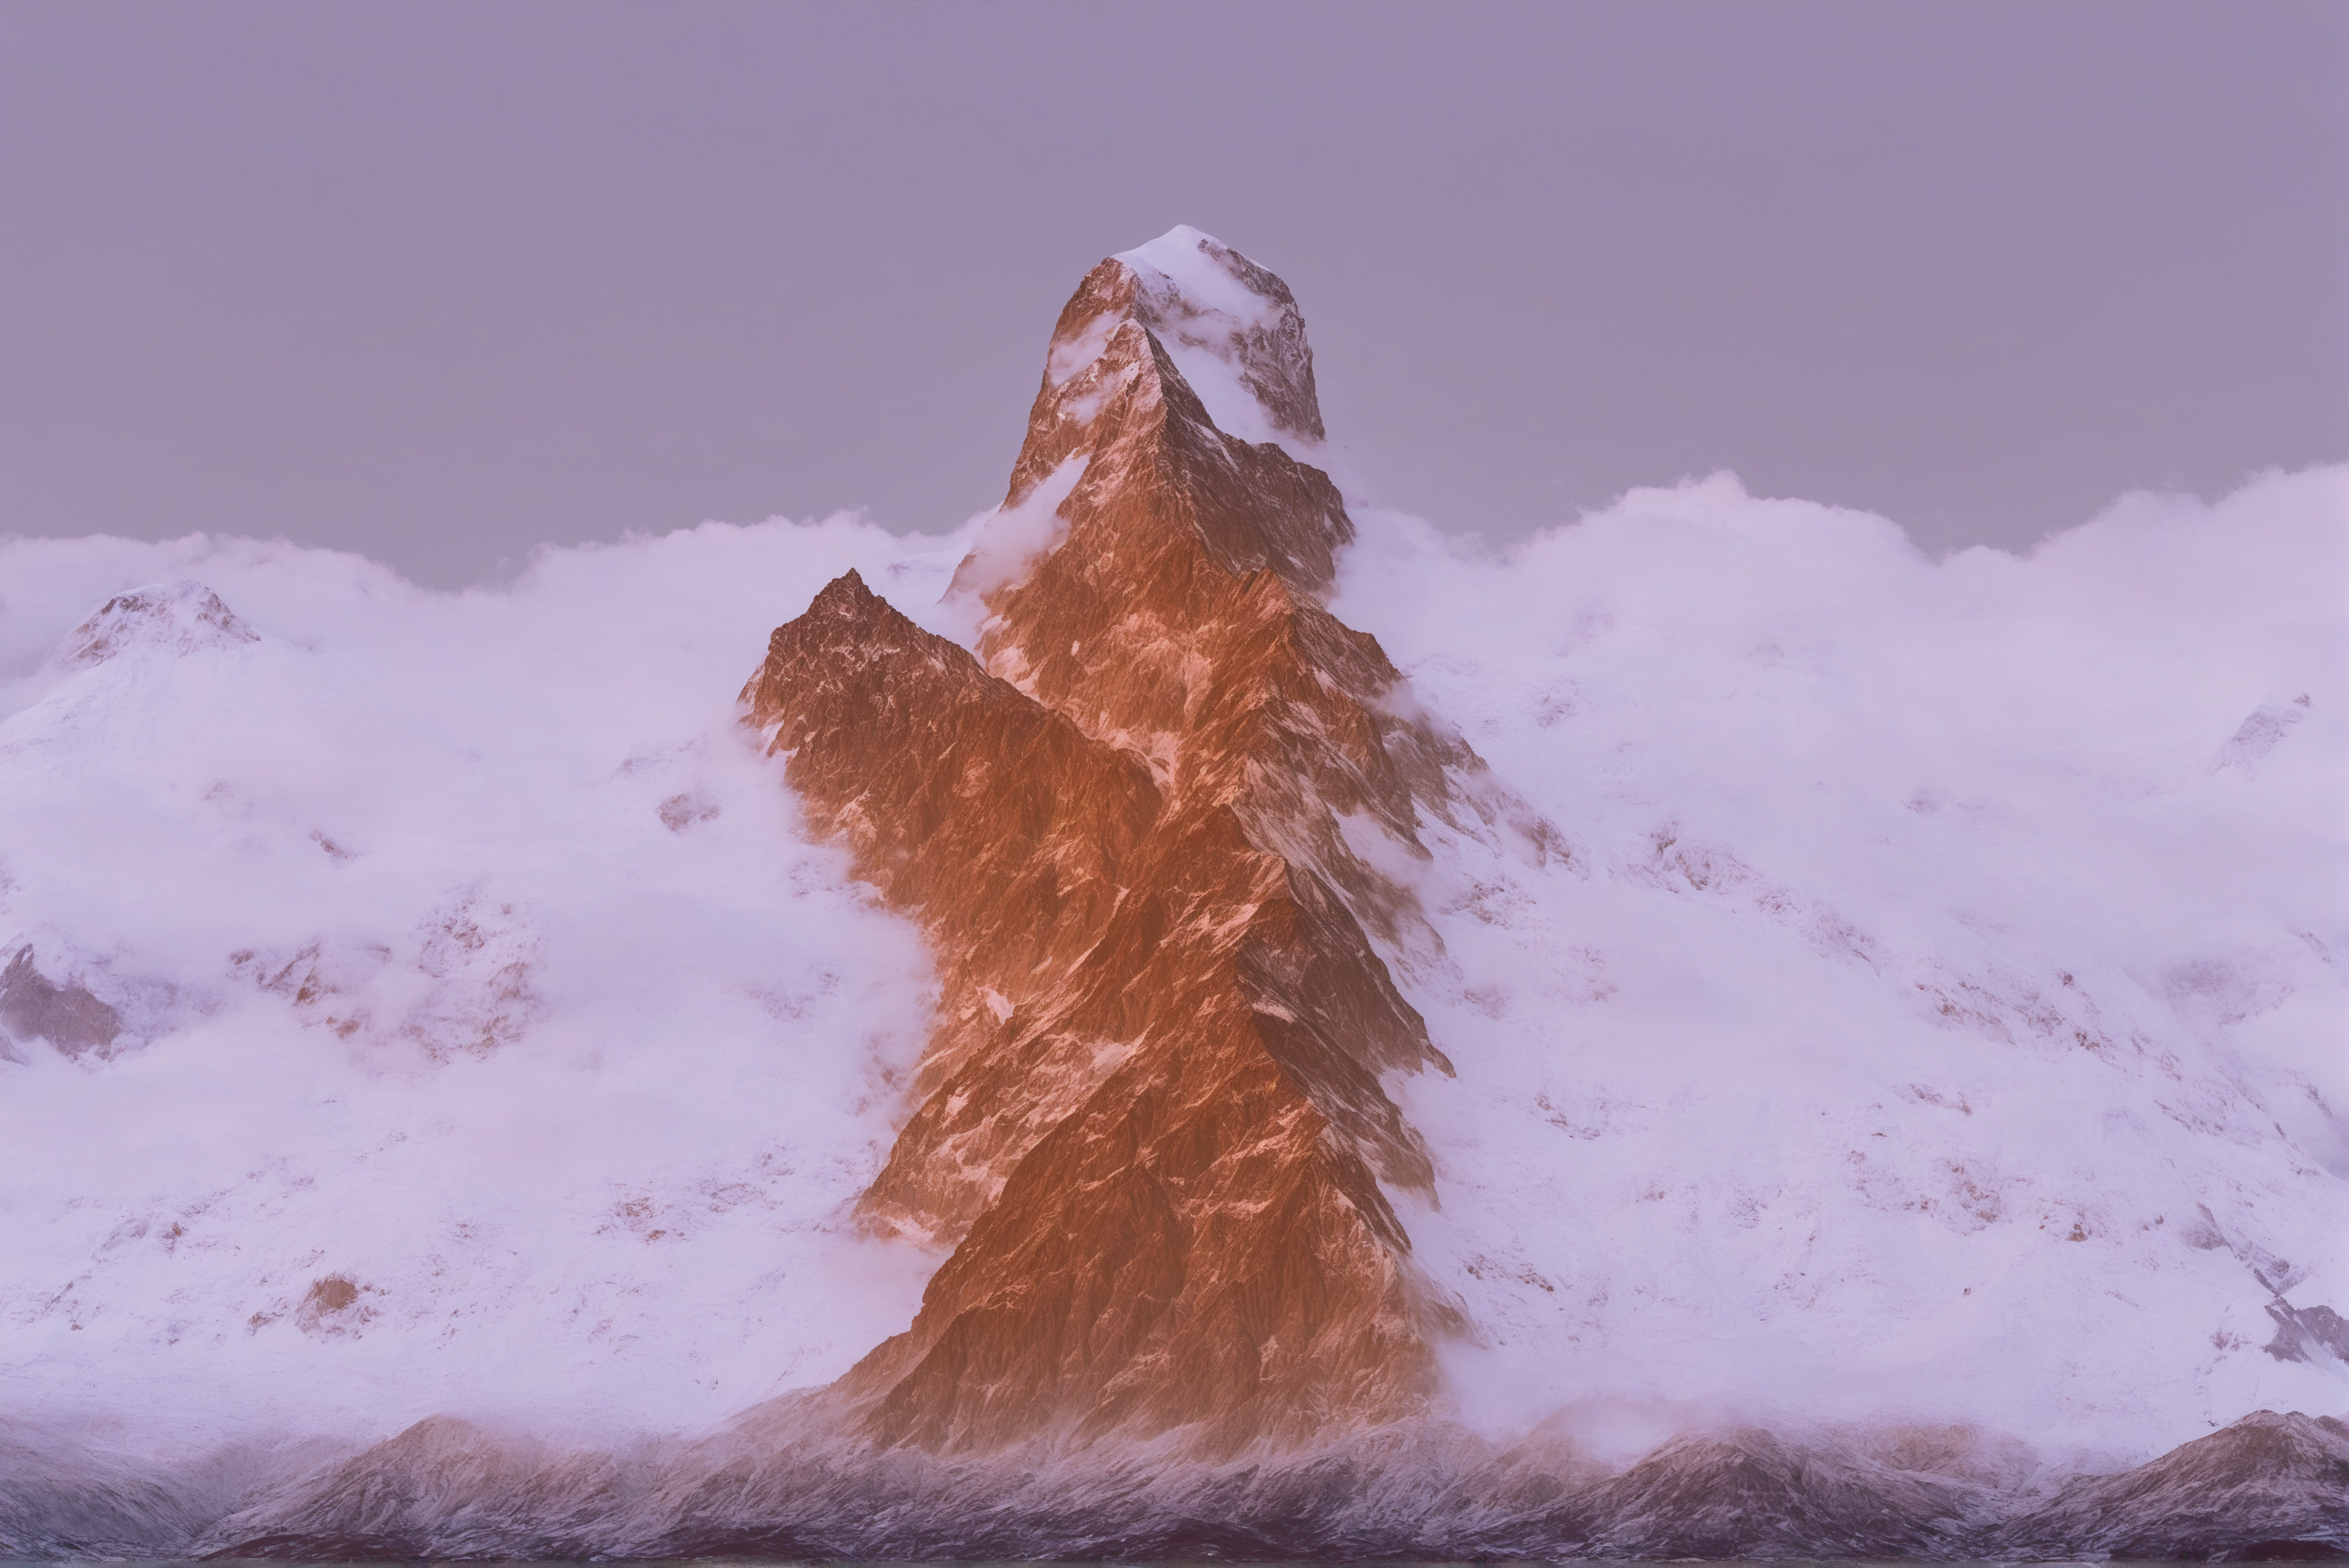
import torch
from diffusers import AutoPipelineForInpainting
from diffusers.utils import load_image

pipeline = AutoPipelineForInpainting.from_pretrained(
  "stabilityai/stable-diffusion-xl-base-1.0",
  dtype=torch.float16
).to("cuda")  # or "mps", "xpu", "cpu"
pipeline.load_ip_adapter(
  "h94/IP-Adapter",
  subfolder="sdxl_models",
  weight_name="ip-adapter_sdxl.bin"
)
pipeline.set_ip_adapter_scale(0.6)

mask_image = load_image("https://huggingface.co/datasets/huggingface/documentation-images/resolve/main/diffusers/ip_adapter_mask.png")
image = load_image("https://huggingface.co/datasets/huggingface/documentation-images/resolve/main/diffusers/ip_adapter_bear_1.png")
ip_image = load_image("https://huggingface.co/datasets/huggingface/documentation-images/resolve/main/diffusers/ip_adapter_gummy.png")
pipeline(
    prompt="a cute gummy bear waving",
    image=image,
    mask_image=mask_image,
    ip_adapter_image=ip_image,
).images[0] 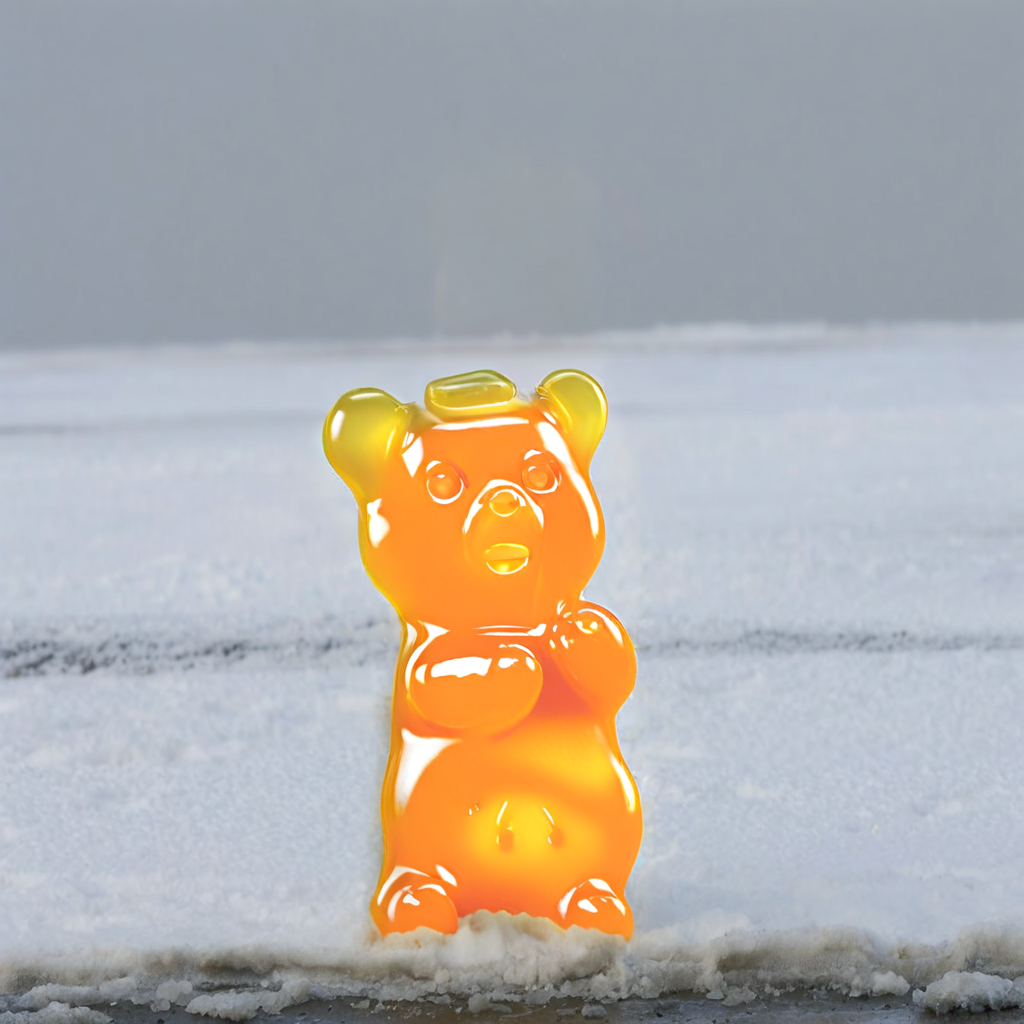
enable_model_cpu_offload() メソッドはメモリ削減に有用であり、IP-Adapter の読み込み後に有効化すべきです。そうしないと、IP-Adapter の画像エンコーダーも CPU にオフロードされてしまい、エラーが発生します。
import torch
from diffusers import AnimateDiffPipeline, DDIMScheduler, MotionAdapter
from diffusers.utils import export_to_gif
from diffusers.utils import load_image

adapter = MotionAdapter.from_pretrained(
  "guoyww/animatediff-motion-adapter-v1-5-2",
  dtype=torch.float16
)
pipeline = AnimateDiffPipeline.from_pretrained(
  "emilianJR/epiCRealism",
  motion_adapter=adapter,
  dtype=torch.float16
)
scheduler = DDIMScheduler.from_pretrained(
    "emilianJR/epiCRealism",
    subfolder="scheduler",
    clip_sample=False,
    timestep_spacing="linspace",
    beta_schedule="linear",
    steps_offset=1,
)
pipeline.scheduler = scheduler
pipeline.vae.enable_slicing()
pipeline.load_ip_adapter("h94/IP-Adapter", subfolder="models", weight_name="ip-adapter_sd15.bin")
pipeline.enable_model_cpu_offload()

ip_adapter_image = load_image("https://huggingface.co/datasets/huggingface/documentation-images/resolve/main/diffusers/ip_adapter_inpaint.png")
pipeline(
    prompt="A cute gummy bear waving",
    negative_prompt="bad quality, worse quality, low resolution",
    ip_adapter_image=ip_adapter_image,
    num_frames=16,
    guidance_scale=7.5,
    num_inference_steps=50,
).frames[0] 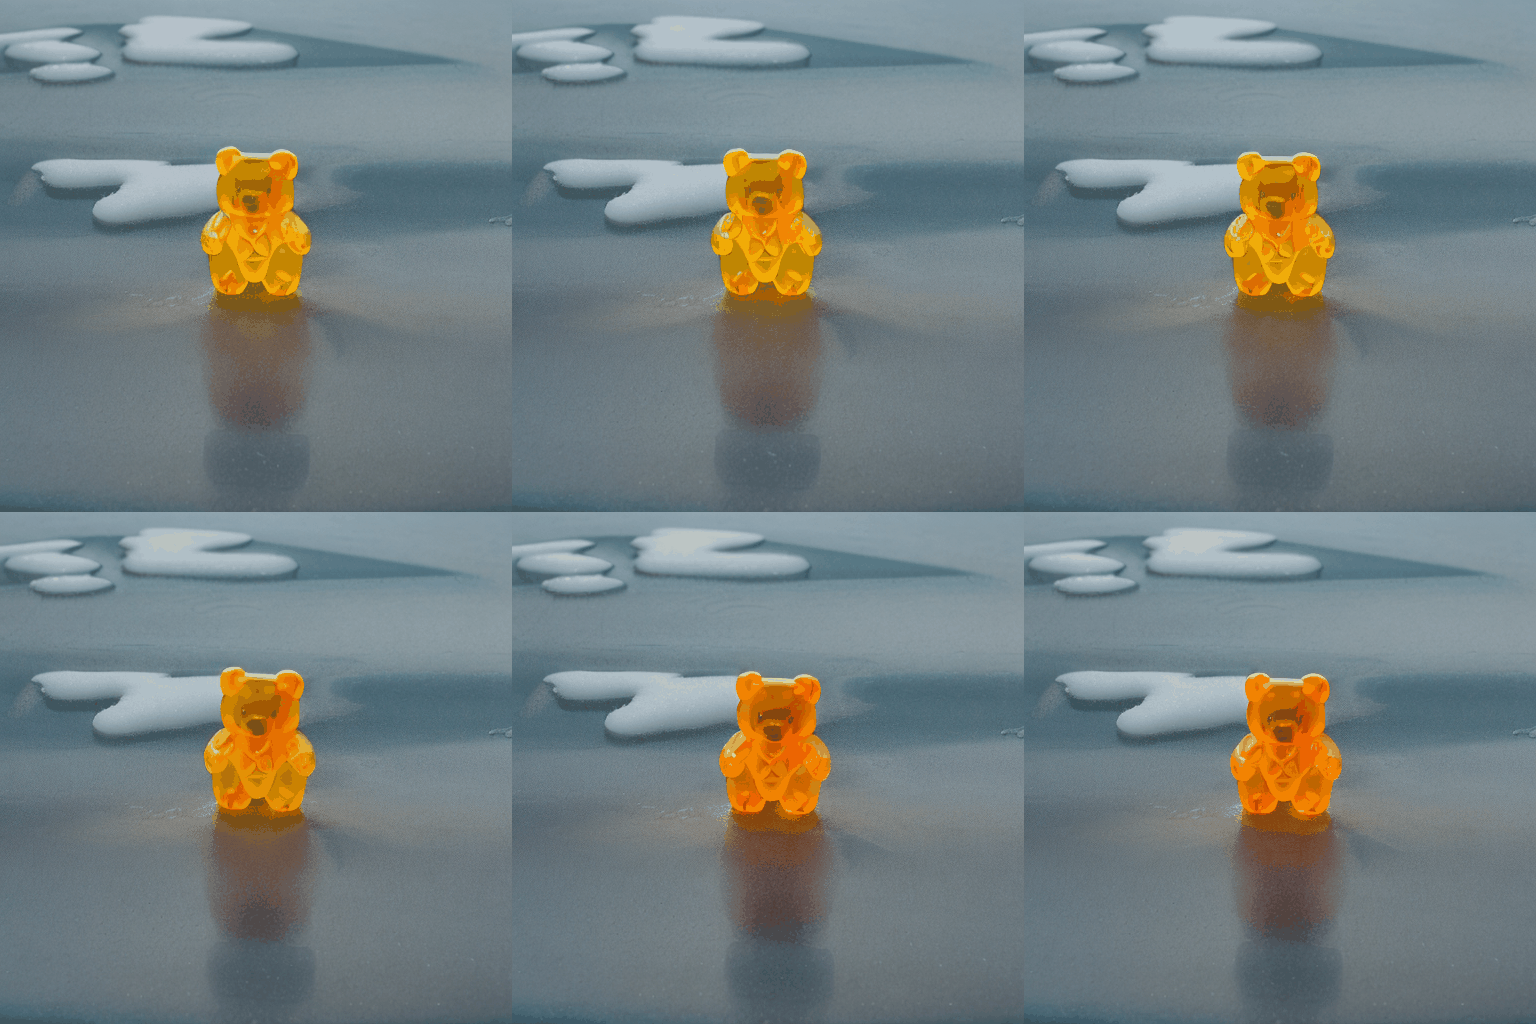
チェックポイントのバリアント
参照画像の詳細が最も重要である場合は、Plus を読み込みます。CLIP 画像埋め込みではなく InsightFace のアイデンティティ埋め込みが必要な場合は、FaceID を読み込みます。
import torch
from transformers import CLIPVisionModelWithProjection
from diffusers import AutoPipelineForText2Image

image_encoder = CLIPVisionModelWithProjection.from_pretrained(
    "h94/IP-Adapter",
    subfolder="models/image_encoder",
    dtype=torch.float16
)

pipeline = AutoPipelineForText2Image.from_pretrained(
    "stabilityai/stable-diffusion-xl-base-1.0",
    image_encoder=image_encoder,
    dtype=torch.float16
).to("cuda")  # or "mps", "xpu", "cpu"

pipeline.load_ip_adapter(
  "h94/IP-Adapter",
  subfolder="sdxl_models",
  weight_name="ip-adapter-plus_sdxl_vit-h.safetensors"
)FaceIDのチェックポイントは、CLIPの画像埋め込みではなく、InsightFaceの顔埋め込みを使用します。FaceIDモデルには、DDIMSchedulerまたはEulerDiscreteSchedulerを使用してください。顔埋め込みを抽出し、テンソルのリストとしてip_adapter_image_embedsに渡します。
# pip install insightface
import cv2
import numpy as np
import torch
from diffusers import StableDiffusionPipeline, DDIMScheduler
from diffusers.utils import load_image
from insightface.app import FaceAnalysis

pipeline = StableDiffusionPipeline.from_pretrained(
    "stable-diffusion-v1-5/stable-diffusion-v1-5",
    dtype=torch.float16,
).to("cuda")  # or "mps", "xpu", "cpu"
pipeline.scheduler = DDIMScheduler.from_config(pipeline.scheduler.config)
pipeline.load_ip_adapter(
  "h94/IP-Adapter-FaceID",
  subfolder=None,
  weight_name="ip-adapter-faceid_sd15.bin",
  image_encoder_folder=None
)
pipeline.set_ip_adapter_scale(0.6)

image = load_image("https://huggingface.co/datasets/huggingface/documentation-images/resolve/main/diffusers/ip_mask_girl1.png")

ref_images_embeds = []
app = FaceAnalysis(name="buffalo_l", providers=['CUDAExecutionProvider', 'CPUExecutionProvider'])
app.prepare(ctx_id=0, det_size=(640, 640))
image = cv2.cvtColor(np.asarray(image), cv2.COLOR_RGB2BGR)
faces = app.get(image)
image = torch.from_numpy(faces[0].normed_embedding)
ref_images_embeds.append(image.unsqueeze(0))
ref_images_embeds = torch.stack(ref_images_embeds, dim=0).unsqueeze(0)
neg_ref_images_embeds = torch.zeros_like(ref_images_embeds)
id_embeds = torch.cat([neg_ref_images_embeds, ref_images_embeds]).to(dtype=torch.float16, device="cuda")

pipeline(
    prompt="A photo of a girl",
    ip_adapter_image_embeds=[id_embeds],
    negative_prompt="monochrome, lowres, bad anatomy, worst quality, low quality",
).images[0]
FaceID Plus では、CLIPVisionModelWithProjection を画像エンコーダーとして読み込みます。
import torch
from transformers import CLIPVisionModelWithProjection
from diffusers import AutoPipelineForText2Image

image_encoder = CLIPVisionModelWithProjection.from_pretrained(
    "laion/CLIP-ViT-H-14-laion2B-s32B-b79K",
    dtype=torch.float16,
)

pipeline = AutoPipelineForText2Image.from_pretrained(
    "stable-diffusion-v1-5/stable-diffusion-v1-5",
    image_encoder=image_encoder,
    dtype=torch.float16
).to("cuda")  # or "mps", "xpu", "cpu"

pipeline.load_ip_adapter(
  "h94/IP-Adapter-FaceID",
  subfolder=None,
  weight_name="ip-adapter-faceid-plus_sd15.bin"
)
FaceID Plus と Plus v2 には、InsightFace の埋め込みに加えて CLIP の画像埋め込みも必要です。顔の埋め込みを準備した後、参照画像をエンコードし、CLIP の埋め込みを画像投影層に割り当てます。
import torch
from diffusers.utils import load_image

ip_adapter_images = load_image("https://huggingface.co/datasets/huggingface/documentation-images/resolve/main/diffusers/ip_mask_girl1.png")
num_images = 1
clip_embeds = pipeline.prepare_ip_adapter_image_embeds(
    ip_adapter_image=[ip_adapter_images],
    ip_adapter_image_embeds=None,
    device=torch.device("cuda"),
    num_images_per_prompt=num_images,
    do_classifier_free_guidance=True,
)[0]

pipeline.unet.encoder_hid_proj.image_projection_layers[0].clip_embeds = clip_embeds.to(dtype=torch.float16)
# set to True if using IP-Adapter FaceID Plus v2
pipeline.unet.encoder_hid_proj.image_projection_layers[0].shortcut = False
画像埋め込み
prepare_ip_adapter_image_embeds() は、IP-Adapter の画像をエンコードして、保存・再利用可能な埋め込みベクトルに変換します。パイプラインを毎回実行するたびに同じ画像を読み込んでエンコードするのではなく、一度だけ事前計算しておきます。
import torch
from diffusers import AutoPipelineForText2Image
from diffusers.utils import load_image

pipeline = AutoPipelineForText2Image.from_pretrained(
  "stabilityai/stable-diffusion-xl-base-1.0",
  dtype=torch.float16
).to("cuda")  # or "mps", "xpu", "cpu"
pipeline.load_ip_adapter(
  "h94/IP-Adapter",
  subfolder="sdxl_models",
  weight_name="ip-adapter_sdxl.bin"
)

image = load_image("https://huggingface.co/datasets/huggingface/documentation-images/resolve/main/diffusers/ip_adapter_bear_1.png")
image_embeds = pipeline.prepare_ip_adapter_image_embeds(
    ip_adapter_image=image,
    ip_adapter_image_embeds=None,
    device="cuda",
    num_images_per_prompt=1,
    do_classifier_free_guidance=True,
)

torch.save(image_embeds, "image_embeds.ipadpt")
ip_adapter_image_embeds パラメータに画像埋め込みを渡すことで、画像埋め込みを再読み込みします。画像埋め込みの生成にはもはや画像エンコーダーが必要ないため、image_encoder_folder を None に設定します。
ComfyUIなどの他のソースから画像埋め込みを読み込むこともできます。
pipeline = AutoPipelineForText2Image.from_pretrained(
  "stabilityai/stable-diffusion-xl-base-1.0",
  dtype=torch.float16
).to("cuda")  # or "mps", "xpu", "cpu"
pipeline.load_ip_adapter(
  "h94/IP-Adapter",
  subfolder="sdxl_models",
  image_encoder_folder=None,
  weight_name="ip-adapter_sdxl.bin"
)
pipeline.set_ip_adapter_scale(0.8)
image_embeds = torch.load("image_embeds.ipadpt")
pipeline(
    prompt="a polar bear sitting in a chair drinking a milkshake",
    ip_adapter_image_embeds=image_embeds,
    negative_prompt="deformed, ugly, wrong proportion, low res, bad anatomy, worst quality, low quality",
    num_inference_steps=100,
).images[0]
マスキング
バイナリマスキングにより、IP-Adapterの画像を出力画像の特定の領域に割り当てられるため、複数のIP-Adapter画像を合成する際に有用です。各IP-Adapter画像にはバイナリマスクが必要です。
画像マスクの前処理を行うために、IPAdapterMaskProcessorを読み込みます。最適な結果を得るには、異なるアスペクト比のマスクが適切にサイズ調整されるよう、出力のheightとwidthを指定してください。入力マスクがすでに生成画像のアスペクト比と一致している場合は、heightとwidthを設定する必要はありません。
import torch
from diffusers import AutoPipelineForText2Image
from diffusers.image_processor import IPAdapterMaskProcessor
from diffusers.utils import load_image

pipeline = AutoPipelineForText2Image.from_pretrained(
  "stabilityai/stable-diffusion-xl-base-1.0",
  dtype=torch.float16
).to("cuda")  # or "mps", "xpu", "cpu"

mask1 = load_image("https://huggingface.co/datasets/huggingface/documentation-images/resolve/main/diffusers/ip_mask_mask1.png")
mask2 = load_image("https://huggingface.co/datasets/huggingface/documentation-images/resolve/main/diffusers/ip_mask_mask2.png")

processor = IPAdapterMaskProcessor()
masks = processor.preprocess([mask1, mask2], height=1024, width=1024)

IP-Adapter の画像とそのスケールをリストとして指定します。前処理済みのマスクをパイプラインの cross_attention_kwargs に渡します。
face_image1 = load_image("https://huggingface.co/datasets/huggingface/documentation-images/resolve/main/diffusers/ip_mask_girl1.png")
face_image2 = load_image("https://huggingface.co/datasets/huggingface/documentation-images/resolve/main/diffusers/ip_mask_girl2.png")

pipeline.load_ip_adapter(
  "h94/IP-Adapter",
  subfolder="sdxl_models",
  weight_name=["ip-adapter-plus-face_sdxl_vit-h.safetensors"]
)
pipeline.set_ip_adapter_scale([[0.7, 0.7]])

ip_images = [[face_image1, face_image2]]
masks = [masks.reshape(1, masks.shape[0], masks.shape[2], masks.shape[3])]

pipeline(
  prompt="2 girls",
  ip_adapter_image=ip_images,
  negative_prompt="monochrome, lowres, bad anatomy, worst quality, low quality",
  cross_attention_kwargs={"ip_adapter_masks": masks}
).images[0]


レシピ
1枚の参照画像では不十分な場合、IP-Adapterを他のアダプターやパイプライン(複数アダプター、ControlNet、InstantStyle、または少ステップのLCMなど)と組み合わせます。
複数のIP-Adapter
複数の IP-Adapter を組み合わせることで、より多様なスタイルの画像を生成できます。例えば、IP-Adapter Face を使用して一貫性のある顔やキャラクターを生成し、IP-Adapter Plus を使用してそれらの顔を特定のスタイルで生成することができます。
CLIPVisionModelWithProjectionで画像エンコーダーを読み込みます。
import torch
from diffusers import AutoPipelineForText2Image, DDIMScheduler
from transformers import CLIPVisionModelWithProjection
from diffusers.utils import load_image

image_encoder = CLIPVisionModelWithProjection.from_pretrained(
    "h94/IP-Adapter",
    subfolder="models/image_encoder",
    dtype=torch.float16,
)
ベースモデル、スケジューラ、および以下の IP-Adapter を読み込みます。
- ip-adapter-plus_sdxl_vit-h は、パッチ埋め込みと ViT-H 画像エンコーダーを使用します
- ip-adapter-plus-face_sdxl_vit-h はパッチ埋め込みと ViT-H 画像エンコーダーを使用しますが、切り抜かれた顔の画像で条件付けを行います。
pipeline = AutoPipelineForText2Image.from_pretrained(
    "stabilityai/stable-diffusion-xl-base-1.0",
    dtype=torch.float16,
    image_encoder=image_encoder,
)
pipeline.scheduler = DDIMScheduler.from_config(pipeline.scheduler.config)
pipeline.load_ip_adapter(
  "h94/IP-Adapter",
  subfolder="sdxl_models",
  weight_name=["ip-adapter-plus_sdxl_vit-h.safetensors", "ip-adapter-plus-face_sdxl_vit-h.safetensors"]
)
pipeline.set_ip_adapter_scale([0.7, 0.3])
# enable_model_cpu_offload to reduce memory usage
pipeline.enable_model_cpu_offload()
画像と、適用する特定のスタイルの画像を含むフォルダを読み込みます。
face_image = load_image("https://huggingface.co/datasets/YiYiXu/testing-images/resolve/main/women_input.png")
style_folder = "https://huggingface.co/datasets/YiYiXu/testing-images/resolve/main/style_ziggy"
style_images = [load_image(f"{style_folder}/img{i}.png") for i in range(10)]

ip_adapter_image に、スタイル画像と顔画像のリストを渡します。
generator = torch.Generator(device="cpu").manual_seed(0)

pipeline(
    prompt="wonderwoman",
    ip_adapter_image=[style_images, face_image],
    negative_prompt="monochrome, lowres, bad anatomy, worst quality, low quality",
).images[0]
構造制御
構造制御には、深度マップ、エッジマップ、ポーズ推定などに基づいて条件付けられたControlNetとIP-Adapterを組み合わせます。
以下の例では、深度マップを条件とするControlNetModelのチェックポイントをロードし、IP-Adapterと組み合わせます。
import torch
from diffusers.utils import load_image
from diffusers import StableDiffusionControlNetPipeline, ControlNetModel

controlnet = ControlNetModel.from_pretrained(
  "lllyasviel/control_v11f1p_sd15_depth",
  dtype=torch.float16
)

pipeline = StableDiffusionControlNetPipeline.from_pretrained(
    "stable-diffusion-v1-5/stable-diffusion-v1-5",
    controlnet=controlnet,
    dtype=torch.float16
).to("cuda")  # or "mps", "xpu", "cpu"
pipeline.load_ip_adapter(
  "h94/IP-Adapter",
  subfolder="models",
  weight_name="ip-adapter_sd15.bin"
)
深度マップとIP-Adapterの画像をパイプラインに渡します。
depth_map = load_image("https://huggingface.co/datasets/YiYiXu/testing-images/resolve/main/depth.png")
ip_adapter_image = load_image("https://huggingface.co/datasets/YiYiXu/testing-images/resolve/main/statue.png")
pipeline(
  prompt="best quality, high quality",
  image=depth_map,
  ip_adapter_image=ip_adapter_image,
  negative_prompt="monochrome, lowres, bad anatomy, worst quality, low quality",
).images[0]


スタイルとレイアウトの制御
スタイルとレイアウトの制御には、IP-AdapterとInstantStyleを組み合わせます。InstantStyleはスタイル(色、テクスチャ、全体的な雰囲気)をコンテンツから分離し、スタイル固有のブロックでのみスタイルを適用することで、コンテンツ領域をそのまま保ちます。これにより、より強力なスタイルの一貫性と、より明確なレイアウト制御が得られます。
set_ip_adapter_scale() を使用して、IP-Adapter を選択したレイヤーでのみ有効にします。以下の例では、モデルのダウン block_2(レイアウト)とアップ block_0(スタイル)で有効にしています。
import torch
from diffusers import AutoPipelineForText2Image
from diffusers.utils import load_image

pipeline = AutoPipelineForText2Image.from_pretrained(
  "stabilityai/stable-diffusion-xl-base-1.0",
  dtype=torch.float16
).to("cuda")  # or "mps", "xpu", "cpu"
pipeline.load_ip_adapter(
  "h94/IP-Adapter",
  subfolder="sdxl_models",
  weight_name="ip-adapter_sdxl.bin"
)

scale = {
    "down": {"block_2": [0.0, 1.0]},
    "up": {"block_0": [0.0, 1.0, 0.0]},
}
pipeline.set_ip_adapter_scale(scale)
スタイル画像を読み込み、画像を生成します。
style_image = load_image("https://huggingface.co/datasets/huggingface/documentation-images/resolve/0052a70beed5bf71b92610a43a52df6d286cd5f3/diffusers/rabbit.jpg")

pipeline(
    prompt="a cat, masterpiece, best quality, high quality",
    ip_adapter_image=style_image,
    negative_prompt="text, watermark, lowres, low quality, worst quality, deformed, glitch, low contrast, noisy, saturation, blurry",
    guidance_scale=5,
).images[0]

以下の図は、InstantStyle のスタイル専用アクティベーション(block_0 以上)と、IP-Adapter を全レイヤーで有効にした場合を比較しています。全レイヤーでは通常、画像プロンプトへの追従が強くなり、多様性が低下する可能性があります。InstantStyle のレイアウトを保持する挙動を重視する場合は、スタイル専用スケールを選択してください。
scale辞書にすべてのレイヤーを指定する必要はありません。含まれていないレイヤーは0に設定され、IP-Adapterが無効化されます。
scale = {
    "up": {"block_0": [0.0, 1.0, 0.0]},
}
pipeline.set_ip_adapter_scale(scale)

pipeline(
    prompt="a cat, masterpiece, best quality, high quality",
    ip_adapter_image=style_image,
    negative_prompt="text, watermark, lowres, low quality, worst quality, deformed, glitch, low contrast, noisy, saturation, blurry",
    guidance_scale=5,
).images[0]

即時生成
IP-Adapter を LCM LoRA と組み合わせることで、ステップ数の少ない生成を実現できます。
import torch
from diffusers import DiffusionPipeline, LCMScheduler
from diffusers.utils import load_image

pipeline = DiffusionPipeline.from_pretrained(
  "sd-dreambooth-library/herge-style",
  dtype=torch.float16
)
pipeline.load_ip_adapter(
  "h94/IP-Adapter",
  subfolder="models",
  weight_name="ip-adapter_sd15.bin"
)
pipeline.load_lora_weights("latent-consistency/lcm-lora-sdv1-5")
pipeline.scheduler = LCMScheduler.from_config(pipeline.scheduler.config)
pipeline.enable_model_cpu_offload()

pipeline.set_ip_adapter_scale(0.4)
ip_adapter_image = load_image("https://user-images.githubusercontent.com/24734142/266492875-2d50d223-8475-44f0-a7c6-08b51cb53572.png")
pipeline(
    prompt="herge_style woman in armor, best quality, high quality",
    ip_adapter_image=ip_adapter_image,
    num_inference_steps=4,
    guidance_scale=1,
).images[0]